
Key Lime Pie
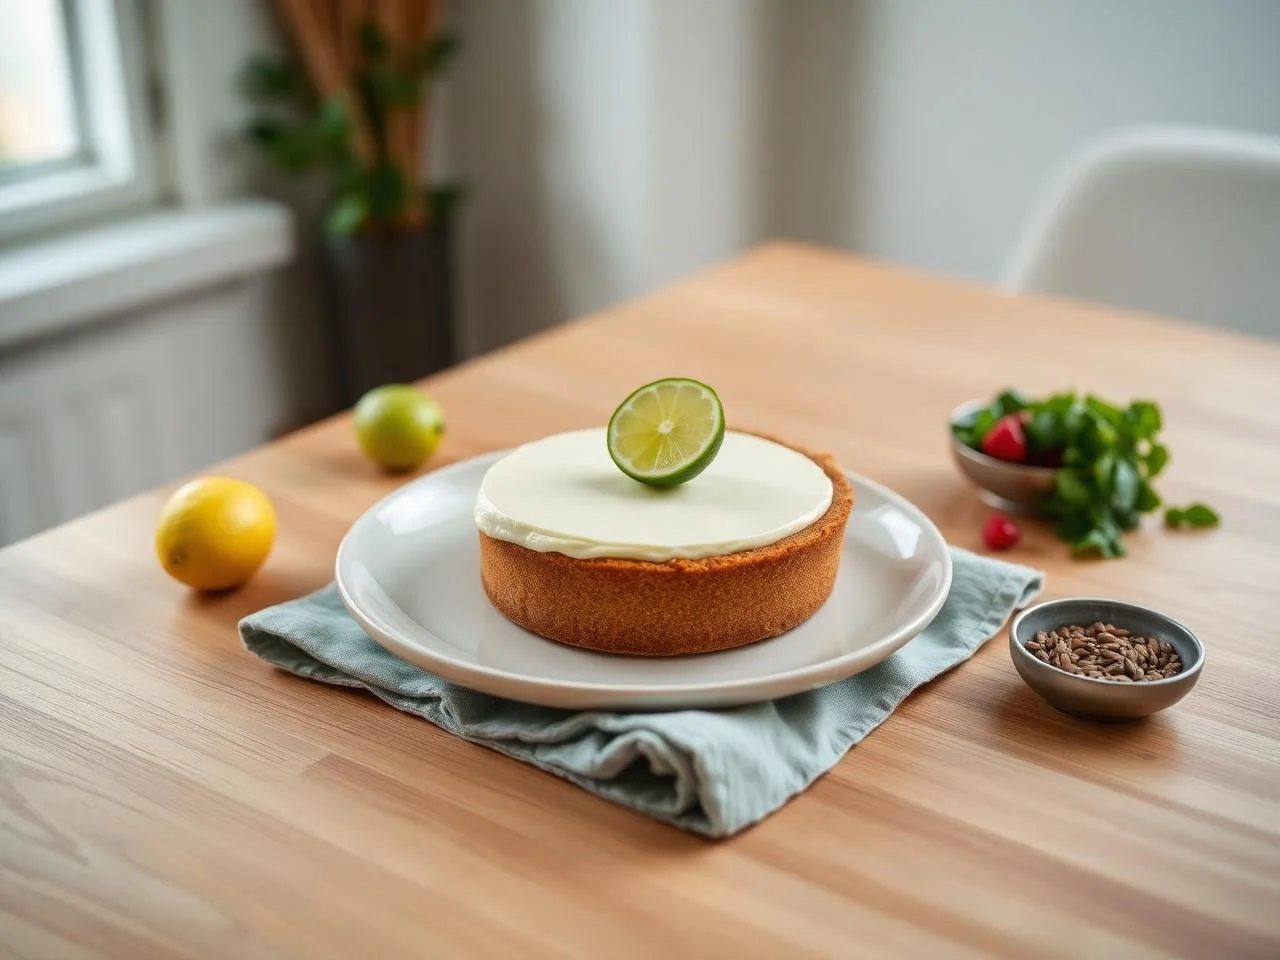
I still remember the first time I tasted a Key Lime Pie - the combination of the tangy filling and the buttery crust was love at first bite. As a registered dietitian turned recipe developer, I've always been drawn to creating balanced and blood-sugar-friendly desserts that are not only delicious but also good for you. This Key Lime Pie recipe is a staple in my household, and I'm excited to share it with you.
What makes this recipe special is the use of fresh Key Lime juice, which gives the filling a unique flavor and texture. I also use a combination of granulated sugar and honey to balance out the sweetness, making it a great option for those looking for a dessert that's a little healthier.
This recipe is perfect for warm weather gatherings, potlucks, or special occasions. It's also a great dessert to make ahead of time, as it can be refrigerated for up to 3 days. So, whether you're a Key Lime Pie lover or just looking for a new dessert to try, this recipe is sure to become a favorite.
As a home cook, I know how important it is to have a recipe that's easy to follow and uses accessible ingredients. That's why I've made sure to include detailed instructions and tips throughout this recipe, so you can feel confident in the kitchen. So, let's get started and make a delicious Key Lime Pie that's sure to impress!
Key Lime Pie is a classic dessert that's perfect for any time of the year. The combination of the tangy filling and the buttery crust is a match made in heaven, and it's a great way to end a meal. I hope you enjoy this recipe as much as I do, and I'm excited to hear about your experiences with it.
Why You’ll Love This Recipe
- This Key Lime Pie recipe is easy to make and requires minimal ingredients.
- It's a great option for those looking for a dessert that's a little healthier, as it uses fresh Key Lime juice and a combination of granulated sugar and honey.
- The filling is tangy and creamy, and the crust is buttery and flaky.
- It's perfect for warm weather gatherings, potlucks, or special occasions.
- It can be made ahead of time and refrigerated for up to 3 days.
- It's a great way to end a meal, and it's sure to impress your guests.
Why This Recipe Works
So, what makes this Key Lime Pie recipe work? It all comes down to the combination of ingredients and the technique used to make it. The filling is made with fresh Key Lime juice, which gives it a unique flavor and texture. I also use a combination of granulated sugar and honey to balance out the sweetness, making it a great option for those looking for a dessert that's a little healthier.
The crust is made with a combination of all-purpose flour, granulated sugar, and unsalted butter, which gives it a buttery flavor and texture. The key to making a great crust is to make sure it's chilled before baking, which helps it to hold its shape and gives it a flaky texture.
Another important aspect of this recipe is the cooking time and temperature. The filling is baked at 350°F for 15-20 minutes, or until it's set and the edges are lightly browned. This helps to prevent the filling from becoming too runny or overcooked, which can be a problem with some Key Lime Pie recipes.
Overall, this Key Lime Pie recipe works because it uses a combination of fresh ingredients, a well-made crust, and a careful cooking technique. The result is a delicious and balanced dessert that's perfect for any occasion.
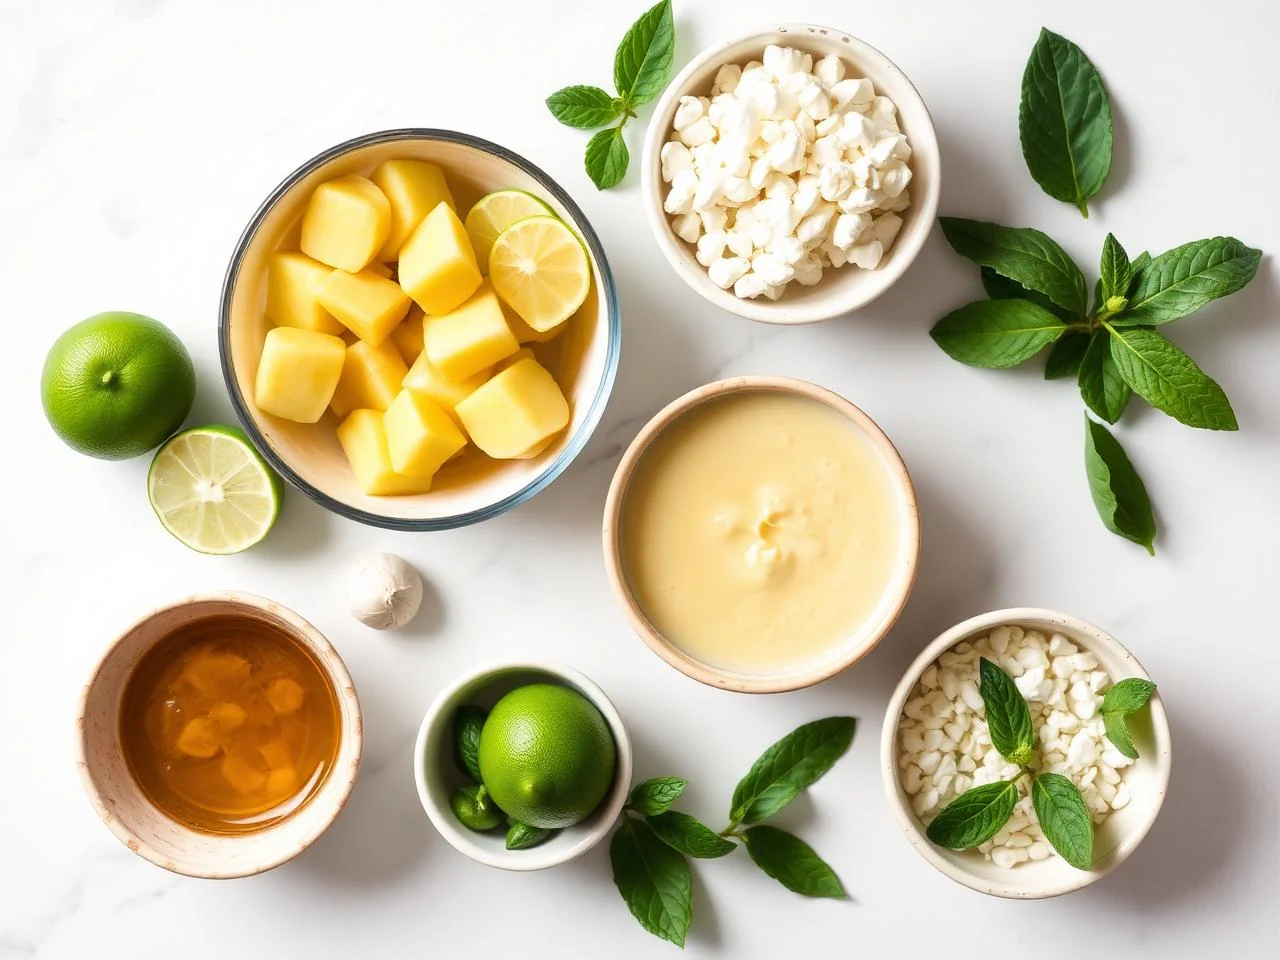
Ingredients You’ll Need
When it comes to making a Key Lime Pie, the ingredients are just as important as the technique. You'll need a combination of fresh Key Limes, granulated sugar, honey, unsalted butter, and all-purpose flour to make the filling and crust. You'll also need a few eggs and a teaspoon of grated lime zest to add flavor and texture to the filling.
One of the most important ingredients in this recipe is the fresh Key Lime juice. Make sure to use high-quality Key Limes that are heavy for their size and have a bright green color. You'll need about 1/2 cup of juice, which is equivalent to about 4-6 Key Limes.
- 1 1/2 cups all-purpose flourUse a high-quality all-purpose flour that is fresh and has not been sitting on the shelf for too long. This will help to ensure that your crust turns out light and flaky.
- 1/2 cup granulated sugarUse a granulated sugar that is fresh and has not been sitting on the shelf for too long. This will help to ensure that your filling turns out sweet and tangy.
- 1/4 cup unsalted butter, meltedUse a high-quality unsalted butter that is fresh and has not been sitting on the shelf for too long. This will help to ensure that your crust turns out buttery and flaky.
- 2 large eggsUse fresh eggs that are at room temperature. This will help to ensure that your filling turns out smooth and creamy.
- 1/2 cup fresh Key Lime juiceUse high-quality Key Limes that are heavy for their size and have a bright green color. You'll need about 1/2 cup of juice, which is equivalent to about 4-6 Key Limes.
- 1 tsp grated lime zestUse a high-quality lime zester to get the best flavor and texture out of your lime zest. You'll need about 1 teaspoon of zest, which is equivalent to about 1-2 limes.
- 1/4 cup honeyUse a high-quality honey that is fresh and has not been sitting on the shelf for too long. This will help to ensure that your filling turns out sweet and tangy.
- 1/2 tsp saltUse a high-quality salt that is fresh and has not been sitting on the shelf for too long. This will help to ensure that your filling turns out balanced and flavorful.
- 1 cup heavy creamUse a high-quality heavy cream that is fresh and has not been sitting on the shelf for too long. This will help to ensure that your filling turns out smooth and creamy.
- 1 tsp vanilla extractUse a high-quality vanilla extract that is fresh and has not been sitting on the shelf for too long. This will help to ensure that your filling turns out balanced and flavorful.
Equipment You’ll Need
How to Make Key Lime Pie
- 1Preheat your oven to 350°F. Make sure to use an oven thermometer to ensure that your oven is at the correct temperature.
- 2In a large mixing bowl, whisk together the flour, granulated sugar, and salt. This will help to ensure that your crust turns out light and flaky.
- 3Add the melted butter to the mixing bowl and stir until the mixture is well combined. This will help to ensure that your crust turns out buttery and flaky.
- 4Press the mixture into the bottom and up the sides of a 9-inch pie dish. Make sure to use a gentle touch to avoid pressing the mixture too hard, which can cause it to become dense and tough.
- 5Bake the crust for 15-20 minutes, or until it is lightly browned and set. This will help to ensure that your crust turns out crispy and golden brown.
- 6While the crust is baking, prepare the filling. In a large mixing bowl, whisk together the eggs, Key Lime juice, grated lime zest, honey, and salt. This will help to ensure that your filling turns out smooth and creamy.
- 7Add the heavy cream and vanilla extract to the mixing bowl and whisk until the mixture is well combined. This will help to ensure that your filling turns out smooth and creamy.
- 8When the crust is ready, remove it from the oven and let it cool for a few minutes. This will help to ensure that your filling turns out smooth and creamy.
- 9Pour the filling into the crust and smooth out the top. This will help to ensure that your filling turns out smooth and creamy.
- 10Bake the filling for 15-20 minutes, or until it is set and the edges are lightly browned. This will help to ensure that your filling turns out smooth and creamy.
- 11Remove the pie from the oven and let it cool to room temperature. This will help to ensure that your filling turns out smooth and creamy.
- 12Refrigerate the pie for at least 2 hours before serving. This will help to ensure that your filling turns out smooth and creamy.
- 13When you're ready to serve, slice the pie and serve. You can garnish with whipped cream or a sprinkle of lime zest, if desired.
Expert Tips
- Make sure to use high-quality ingredients, including fresh Key Limes and real vanilla extract.
- Don't overmix the filling, as this can cause it to become tough and dense.
- Use a gentle touch when pressing the crust into the pie dish, as this can cause it to become dense and tough.
- Don't overbake the crust, as this can cause it to become burnt and crispy.
- Let the pie cool to room temperature before refrigerating it, as this can cause it to become soggy and wet.
- Use a sharp knife to slice the pie, as this can help to prevent it from becoming crushed and broken.
- Garnish with whipped cream or a sprinkle of lime zest, if desired, to add a touch of flavor and color to the pie.
Common Mistakes to Avoid
- Using low-quality ingredients, such as artificial vanilla extract or old Key Limes.
- Overmixing the filling, which can cause it to become tough and dense.
- Pressing the crust too hard, which can cause it to become dense and tough.
- Overbaking the crust, which can cause it to become burnt and crispy.
- Not letting the pie cool to room temperature before refrigerating it, which can cause it to become soggy and wet.
- Not using a sharp knife to slice the pie, which can cause it to become crushed and broken.
Variations and Substitutions
- Adding a sprinkle of lime zest to the filling for extra flavor and texture.
- Using a different type of citrus juice, such as lemon or orange, for a different flavor profile.
- Adding a few drops of food coloring to the filling to give it a fun and colorful twist.
- Using a different type of milk, such as almond or soy milk, for a non-dairy version of the pie.
- Adding a layer of whipped cream or meringue to the top of the pie for extra flavor and texture.
- Using a different type of crust, such as a graham cracker crust or a nut crust, for a different texture and flavor.
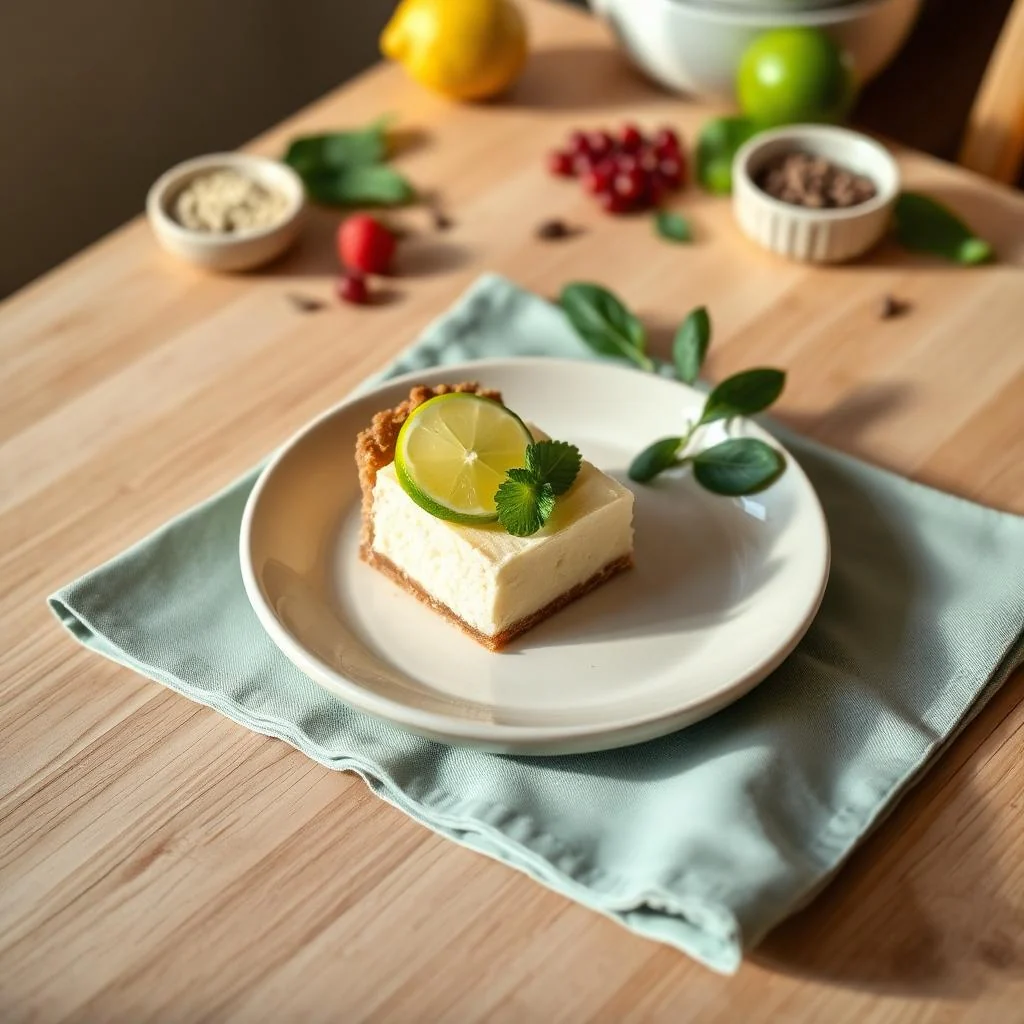
What to Serve With Key Lime Pie
This Key Lime Pie is perfect for serving at warm weather gatherings, potlucks, or special occasions. It's a great way to end a meal, and it's sure to impress your guests. You can serve it on its own, or with a side of whipped cream or a sprinkle of lime zest.
Some other ideas for serving this pie include pairing it with a cup of coffee or tea, or serving it as a dessert at a brunch or breakfast gathering. You could also try pairing it with a side of fresh fruit, such as strawberries or blueberries, for a light and refreshing dessert.
Make-Ahead, Storage, Freezing and Reheating
This Key Lime Pie can be stored in the refrigerator for up to 3 days. Make sure to cover it with plastic wrap or aluminum foil to prevent it from drying out. You can also freeze the pie for up to 2 months, and thaw it in the refrigerator overnight when you're ready to serve it.
To freeze the pie, simply wrap it tightly in plastic wrap or aluminum foil and place it in a freezer-safe bag. When you're ready to thaw it, remove it from the freezer and let it thaw in the refrigerator overnight. You can also thaw it at room temperature for a few hours, but be sure to refrigerate it as soon as it's thawed to prevent it from spoiling.
When you're ready to serve the pie, simply slice it and serve. You can garnish with whipped cream or a sprinkle of lime zest, if desired, to add a touch of flavor and color to the pie.
One thing to keep in mind when storing this pie is that it can become soggy and wet if it's not stored properly. To prevent this, make sure to let it cool to room temperature before refrigerating it, and avoid exposing it to heat or moisture. You can also try storing it in an airtight container to keep it fresh and prevent it from drying out.
Frequently Asked Questions
What is the best way to store a Key Lime Pie?
The best way to store a Key Lime Pie is to cover it with plastic wrap or aluminum foil and refrigerate it for up to 3 days. You can also freeze it for up to 2 months and thaw it in the refrigerator overnight when you're ready to serve it.
Can I make a Key Lime Pie ahead of time?
Yes, you can make a Key Lime Pie ahead of time. Simply bake the crust and prepare the filling, then refrigerate or freeze it until you're ready to serve it.
What is the best way to serve a Key Lime Pie?
The best way to serve a Key Lime Pie is to slice it and serve it on its own, or with a side of whipped cream or a sprinkle of lime zest. You can also try pairing it with a cup of coffee or tea, or serving it as a dessert at a brunch or breakfast gathering.
Can I use a different type of citrus juice in a Key Lime Pie?
Yes, you can use a different type of citrus juice in a Key Lime Pie. Some options include lemon, orange, or grapefruit juice. Keep in mind that using a different type of juice will give the pie a different flavor profile, so you may need to adjust the amount of sugar or other ingredients accordingly.
Can I make a Key Lime Pie without a crust?
Yes, you can make a Key Lime Pie without a crust. Simply prepare the filling and pour it into individual serving cups or a large serving dish. You can also try using a different type of crust, such as a graham cracker crust or a nut crust, for a different texture and flavor.
How do I know when a Key Lime Pie is done?
A Key Lime Pie is done when the filling is set and the edges are lightly browned. You can also check the pie by inserting a knife or toothpick into the center - if it comes out clean, the pie is done.
Can I freeze a Key Lime Pie?
Yes, you can freeze a Key Lime Pie. Simply wrap it tightly in plastic wrap or aluminum foil and place it in a freezer-safe bag. When you're ready to serve it, thaw it in the refrigerator overnight or at room temperature for a few hours.
How long does a Key Lime Pie last?
A Key Lime Pie can last for up to 3 days in the refrigerator, or up to 2 months in the freezer. Make sure to store it properly to keep it fresh and prevent it from spoiling.
Ingredients
- 1 1/2 cups all-purpose flour
- 1/2 cup granulated sugar
- 1/4 cup unsalted butter, melted
- 2 large eggs
- 1/2 cup fresh Key Lime juice
- 1 tsp grated lime zest
- 1/4 cup honey
- 1/2 tsp salt
- 1 cup heavy cream
- 1 tsp vanilla extract
Instructions
- Preheat your oven to 350°F. Make sure to use an oven thermometer to ensure that your oven is at the correct temperature.
- In a large mixing bowl, whisk together the flour, granulated sugar, and salt. This will help to ensure that your crust turns out light and flaky.
- Add the melted butter to the mixing bowl and stir until the mixture is well combined. This will help to ensure that your crust turns out buttery and flaky.
- Press the mixture into the bottom and up the sides of a 9-inch pie dish. Make sure to use a gentle touch to avoid pressing the mixture too hard, which can cause it to become dense and tough.
- Bake the crust for 15-20 minutes, or until it is lightly browned and set. This will help to ensure that your crust turns out crispy and golden brown.
- While the crust is baking, prepare the filling. In a large mixing bowl, whisk together the eggs, Key Lime juice, grated lime zest, honey, and salt. This will help to ensure that your filling turns out smooth and creamy.
- Add the heavy cream and vanilla extract to the mixing bowl and whisk until the mixture is well combined. This will help to ensure that your filling turns out smooth and creamy.
- When the crust is ready, remove it from the oven and let it cool for a few minutes. This will help to ensure that your filling turns out smooth and creamy.
- Pour the filling into the crust and smooth out the top. This will help to ensure that your filling turns out smooth and creamy.
- Bake the filling for 15-20 minutes, or until it is set and the edges are lightly browned. This will help to ensure that your filling turns out smooth and creamy.
- Remove the pie from the oven and let it cool to room temperature. This will help to ensure that your filling turns out smooth and creamy.
- Refrigerate the pie for at least 2 hours before serving. This will help to ensure that your filling turns out smooth and creamy.
- When you're ready to serve, slice the pie and serve. You can garnish with whipped cream or a sprinkle of lime zest, if desired.