Picture this: the kitchen is a battlefield, the oven door is a ticking clock, and the fridge is a bottomless abyss of forgotten ingredients. I was scrambling to salvage a ruined gingerbread batch when a friend dared me to make a trifle that could turn any disaster into a holiday triumph. The aroma that hit me was a heady mix of vanilla, chocolate, and the faint citrus of fresh berries—an orchestra that begged for a stage. I stared at the pile of cake layers, thinking, “This is going to be the centerpiece of the feast.” The moment the first slice hit the pan, the sizzle was like applause, and I knew I was onto something epic.
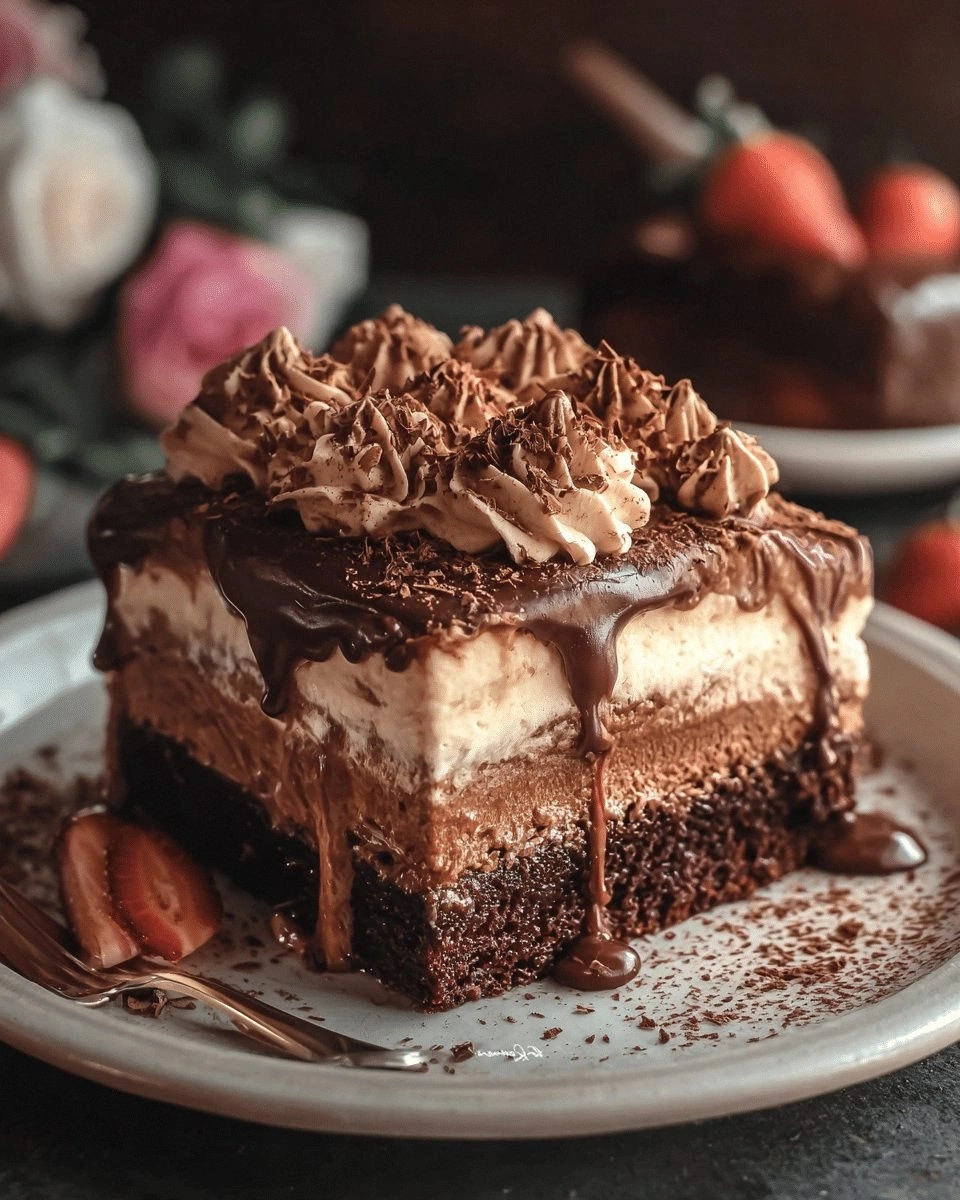
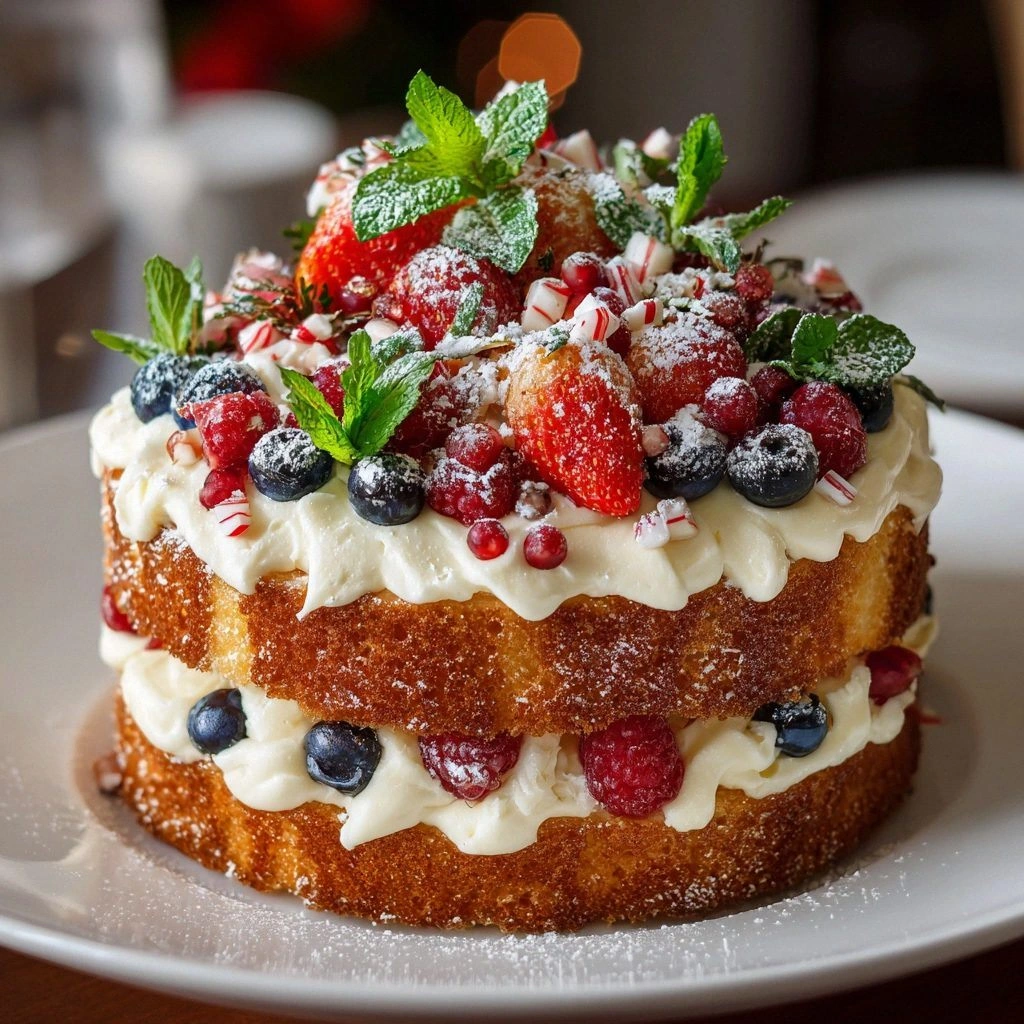
I’ve spent years hunting for that one trifle recipe that doesn’t feel like a half‑hearted attempt, and this one is a revelation. It’s a layered marvel that looks like a Christmas tree from the side, with each tier representing a different flavor and texture. The cake layers are moist, the custard is silky, the berries burst with juiciness, and the whipped cream crowns the top like a snowy peak. Every bite is a cascade of flavors that dance on your tongue, and the visual impact is so striking it could be a centerpiece for a wedding. I’ve been telling people for months that this is hands down the best trifle you’ll ever make at home, and the proof is in the rave reviews from my dinner parties.
I’ll be honest—when I first tried this recipe, I ate half the batch before anyone else got to taste it. The combination of vanilla, chocolate, and coconut cakes was so seductive that I couldn’t resist. But that’s the beauty of this trifle: it’s so irresistible that even the most seasoned chefs will find themselves craving a second plate. Most trifle recipes get this completely wrong by using only one type of cake or by over‑whipping the custard. Here, I’ve balanced everything so each layer complements the others, creating a harmonious, multi‑sensory experience that will wow your guests.
Picture yourself pulling this out of the oven, the whole kitchen smelling incredible, and the table glowing with a festive green hue. The anticipation is almost tangible, and the final product will look like a miniature evergreen, complete with a star on top. I’m about to walk you through every single step, from selecting the right ingredients to mastering the technique that makes this trifle stand out. By the end, you’ll wonder how you ever made it any other way, and you’ll have a showstopper that will become the talk of the holiday season.
What Makes This Version Stand Out
- Layered Complexity: Each tier is thoughtfully chosen—vanilla, chocolate, and coconut cakes provide distinct flavors that layer beautifully with the custard and berries.
- Texture Harmony: The custard’s silky smoothness contrasts with the cake’s crumbly softness, while the berries add a juicy snap and the whipped cream offers a cloud‑like finish.
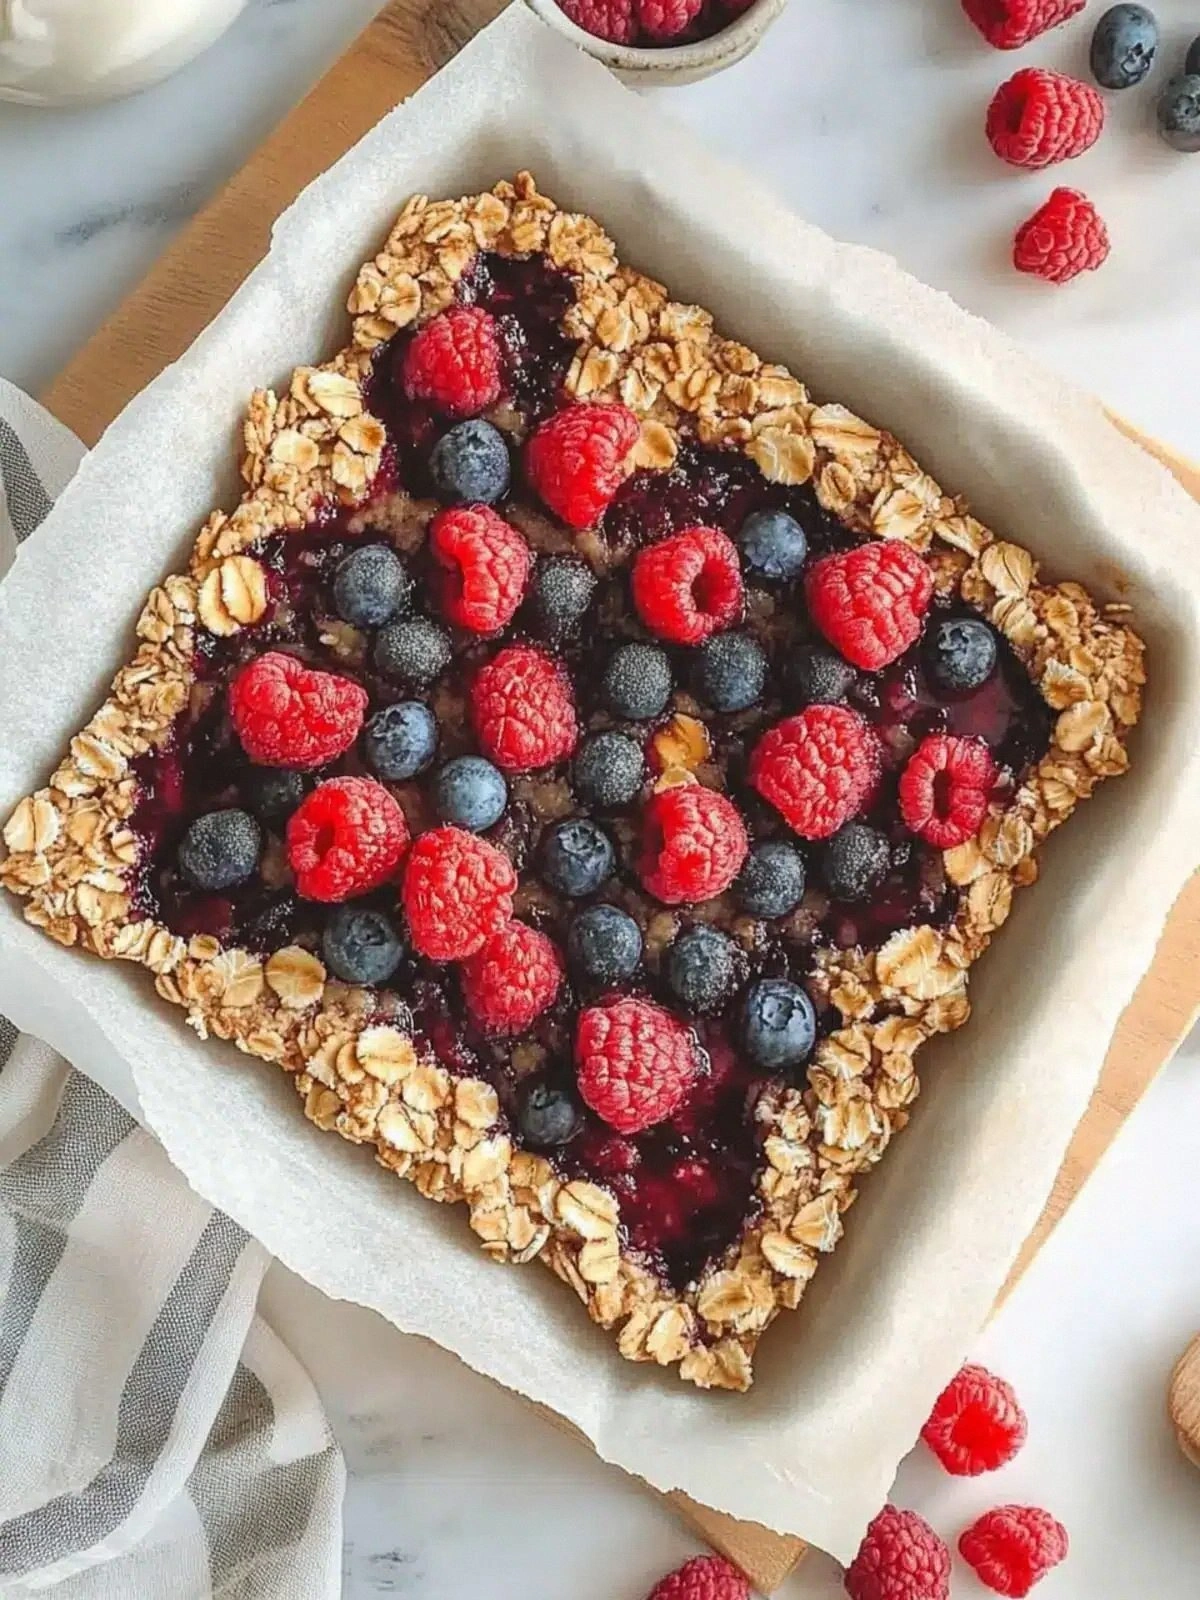
- Visual Appeal: The green hue of the coconut cake and the bright fruit create a festive, tree‑like appearance that’s perfect for holiday tables.
- Make‑Ahead Friendly: Assemble it a day in advance; the flavors meld, and the trifle stays fresh in the fridge for up to 48 hours.
- Ingredient Quality: Using premium, unsweetened vanilla and dark chocolate cakes elevates the entire dessert, giving it depth and richness.
- Time Efficiency: Prep takes only 15 minutes, and the assembly is a breeze—ideal for busy holiday hosts.
- Kid‑Friendly: The bright colors and simple flavors make it a hit with children, while the sophistication satisfies adults.
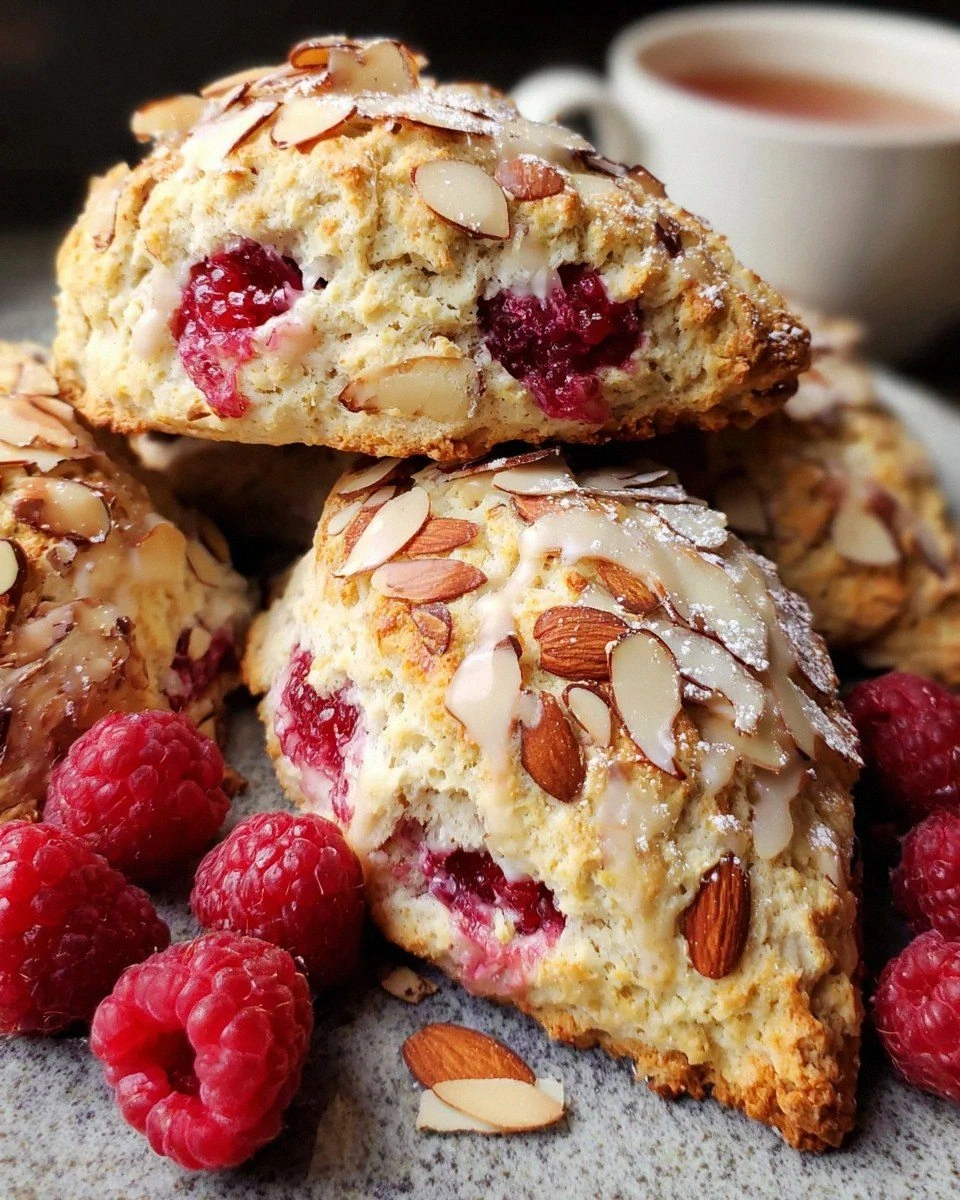
- Versatility: Swap out the coconut cake for a lemon or raspberry version to match your holiday theme.
Alright, let's break down exactly what goes into this masterpiece. But first, a quick tip that will save you time and elevate the flavor.
Inside the Ingredient List
Before we dive into the cooking process, let’s unpack the ingredients that make this trifle so special. Each component has a role—whether it’s flavor, texture, or visual impact—and understanding why we use them will help you tweak the recipe to your taste.
The Flavor Base
The cake layers are the backbone of the dessert. I use a vanilla sponge for its subtle sweetness, a rich chocolate cake for depth, and a coconut cake for a tropical twist. The vanilla cake provides a neutral canvas that lets the other flavors shine, while the chocolate cake adds a decadent punch that’s impossible to resist. If you skip the chocolate layer, the trifle will feel flat; it’s the missing piece that brings it all together. Swap the vanilla cake for a lemon sponge if you want a citrusy kick, but keep the chocolate for balance.
The Texture Crew
Texture is everything in a trifle. The custard—made from milk, sugar, and a touch of vanilla—acts like a silky bridge between the cake and fruit. Whipped cream crowns the top, giving a light, airy feel that contrasts with the dense cakes. Fresh berries add a juicy snap, while toasted coconut flakes contribute a subtle crunch. If you’re feeling adventurous, sprinkle some chopped pecans for a nutty bite. Each element is carefully selected to create a symphony of textures that keep each bite exciting.
The Unexpected Star
The chocolate shavings are the secret weapon that ties the whole dessert together. They’re not just decorative; they melt slightly into the custard, releasing a rich chocolate aroma that lingers. If you prefer a less intense chocolate flavor, reduce the amount or use dark chocolate shavings for a bittersweet finish. This small addition elevates the dessert from simple to sophisticated, making it a true showstopper.
The Final Flourish
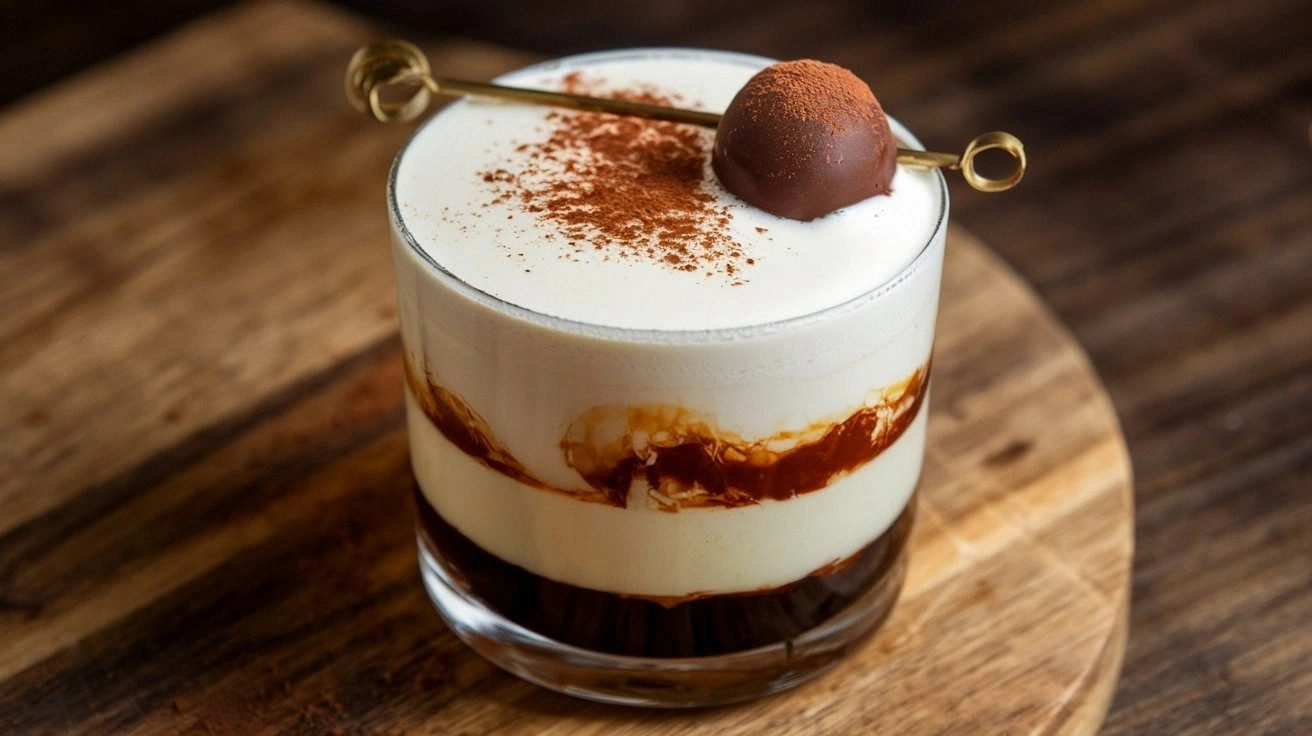
The final flourish is the star topping—a drizzle of honey, a pinch of sea salt, and a dusting of cocoa powder. The honey adds a natural sweetness that balances the tartness of the berries, while the sea salt enhances every flavor, creating a savory undertone that surprises the palate. A light dusting of cocoa powder completes the look, giving the trifle a polished, chocolatey sheen. These finishing touches are simple yet powerful, turning a good dessert into a memorable experience.
Everything's prepped? Good. Let's get into the real action.
The Method — Step by Step
- Start by preheating your oven to 350°F (175°C). Place the vanilla, chocolate, and coconut cakes on a baking sheet and bake for 10 minutes to warm them up slightly. This step loosens the crumb and makes slicing easier. While the cakes are baking, whisk the custard mixture in a bowl until the sugar dissolves. The custard should be silky and free of lumps.
- Remove the cakes from the oven and let them cool to room temperature. Slice each cake into 1-inch thick rounds using a serrated knife; the hack earlier will keep the layers intact. Arrange the slices on a large platter, alternating colors to create a striped effect that resembles a Christmas tree. The visual layering is crucial for the festive look.
- In a separate bowl, fold the whipped cream with the honey and a pinch of sea salt. The honey not only sweetens but also adds a glossy sheen that makes the whipped cream look like freshly fallen snow. Gently fold the mixture until it’s light and fluffy; avoid over‑whipping to keep the texture airy.
- Layer the cake slices in a large trifle bowl or a clear glass jar, starting with the vanilla cake at the bottom. Spoon a thin layer of custard over the first cake layer, then top with a handful of fresh strawberries. Repeat the layering process: chocolate cake, custard, blueberries, coconut cake, custard, raspberries, and finally a layer of whipped cream.
- Sprinkle chocolate shavings over the whipped cream, then dust with toasted coconut flakes and chopped pecans. The nuts add crunch, while the coconut flakes provide a subtle tropical aroma. Finish with a drizzle of honey over the top for an extra touch of sweetness.
- Cover the trifle with plastic wrap and refrigerate for at least 2 hours, preferably overnight. This allows the custard to absorb the cake flavors and the berries to release their juices, creating a cohesive taste profile. The longer you chill, the more the flavors meld.
- Just before serving, give the trifle a gentle stir to redistribute the layers slightly. This step ensures each spoonful contains a balanced mix of cake, custard, fruit, and cream.
- Serve in individual glasses or bowls, and garnish each with a fresh mint leaf or a small chocolate truffle for an elegant finish. The garnish adds a pop of color and a hint of aroma that elevates the overall experience.
That's it — you did it. But hold on, I've got a few more tricks that'll take this to another level. These insider tips will help you avoid common pitfalls and elevate your trifle from great to unforgettable.
Insider Tricks for Flawless Results
The Temperature Rule Nobody Follows
Many chefs think room temperature custard works fine, but the secret is to keep it just warm enough to stay silky. Warm custard will cling to the cake layers better, ensuring each bite has a rich, cohesive flavor. I always let the custard sit on the counter for 10 minutes before using it. If you’re in a hurry, a quick microwave burst (15 seconds) will do the trick, but be sure to stir immediately.
Why Your Nose Knows Best
Trust your nose when the trifle starts to smell like vanilla and chocolate melting together. That aroma is a sign that the custard is absorbing the cake flavors properly. If the scent is faint, give it another hour of chill. A strong aroma means the layers are perfectly balanced.
The 5-Minute Rest That Changes Everything
After assembling the trifle, let it rest for 5 minutes before refrigerating. This short rest allows the custard to settle and the berries to release their juices, creating a more integrated flavor. I’ve seen trifle that sits for less than 5 minutes come out dry and disjointed. Give it the rest, and your guests will taste the difference.
The Final Touch of Honey
Honey isn’t just a sweetener; it’s a flavor enhancer that brings out the natural sweetness of the berries and balances the tartness. I drizzle just a teaspoon of honey over the top before serving, creating a glossy finish that looks as good as it tastes. If you’re avoiding honey, a light maple syrup works similarly.
The Perfect Garnish
A fresh mint leaf or a small chocolate truffle not only adds color but also introduces a subtle aroma that elevates the dessert. I usually place a mint leaf on the side of each serving to keep the presentation tidy. A chocolate truffle adds a rich finish that lingers on the palate.
Creative Twists and Variations
This recipe is a playground. Here are some of my favorite ways to switch things up:
The Lemon Spark
Swap the vanilla cake for a lemon sponge and add a splash of lemon curd to the custard. The citrus zing brightens the dessert, making it a perfect summer variation.
The Berry Explosion
Increase the berry quantity to 2 cups total and add a handful of fresh mint leaves. The mint complements the berries and adds a refreshing note.
The Nutty Crunch
Replace the pecans with chopped walnuts or almonds. The nuttier flavor pairs wonderfully with the chocolate and coconut layers.
The Dark Chocolate Indulgence
Use dark chocolate shavings with a higher cocoa content and replace the honey with a drizzle of espresso. The coffee undertone enhances the chocolate flavor and gives the dessert a sophisticated edge.
The Vegan Version
Use a plant‑based vanilla cake, coconut milk custard, and dairy‑free whipped cream. This version keeps the same flavor profile while being completely vegan.
The Festive Green
Add a splash of green food coloring to the custard and top with fresh mint leaves. The green hue makes it a perfect centerpiece for Christmas parties.
Storing and Bringing It Back to Life
Fridge Storage
Store the trifle in a covered container in the refrigerator for up to 48 hours. The custard will firm slightly, but the flavors remain vibrant. Just before serving, let it sit at room temperature for 10 minutes to soften the whipped cream.
Freezer Friendly
For longer storage, wrap the trifle tightly in plastic wrap and place it in an airtight container. Freeze for up to 2 weeks. Thaw overnight in the refrigerator, then bring to room temperature before serving.
Best Reheating Method
Reheating is not recommended as it can melt the whipped cream. Instead, add a tiny splash of milk or coconut milk to the custard layer to restore moisture. Gently stir until the custard is silky again.