I was halfway through a week of bland take‑out, scrolling through Instagram when a friend dared me to try a recipe that had earned the nickname “Mongolian Chicken” in a food forum. I had never even heard of it, but the promise of a sauce that was sweet, savory, and utterly addictive sounded like the kind of culinary adventure I needed. I stared at my kitchen, the scent of onions and garlic already wafting from the stove, and decided that this was the moment to turn an ordinary dinner into a headline-worthy meal. I grabbed a notebook, a pen, and the confidence that I would never again settle for a mediocre stir‑fry. The kitchen lights flicked on, the hum of the refrigerator became the soundtrack, and I was ready to dive into something that would change my perception of what “Mongolian” could mean on a plate. Let me walk you through every single step — by the end, you'll wonder how you ever made it any other way.
The first time I tried this dish, the moment the chicken hit the pan, the sizzle was like a tiny fireworks display that filled the room with anticipation. The aroma that unfurled was a harmonious blend of toasted sesame, caramelized sugar, and the sharp bite of fresh ginger, a scent that instantly pulled me back to a childhood memory of my grandmother’s kitchen. I could almost taste the thin, glossy sauce coating each bite of tender chicken, the subtle sweetness balanced by the umami punch of soy sauce. Watching the sauce thicken into a glossy glaze was a visual treat that made the whole process feel like a performance rather than a chore. Every bite was a revelation, a dance of flavors that made me question why I had ever settled for bland. This version is hands down the best you’ll ever make at home, and I’m about to reveal the secret ingredients and techniques that elevate it.
If you’ve ever struggled with achieving that perfect balance between sweet and salty in a stir‑fry, you’re not alone — and I’ve got the fix. The trick isn’t in adding more sugar or more soy sauce, but in how you build the flavor layers. I’ll walk you through each ingredient, each technique, and every little hack that turns a good dish into a memorable one. The result is a dish that feels like a celebration, with a sauce that coats the chicken like velvet and a finish that leaves a lingering, satisfying aftertaste. Picture yourself pulling this out of the pan, the whole kitchen smelling incredible, and the family’s eyes lighting up with delight. The anticipation is almost tangible, and the payoff is a dish that will have you asking for seconds without even realizing it. I dare you to taste this and not go back for seconds.
What makes this version stand out is not just the ingredients but the way they’re orchestrated. The sauce is a symphony of sweet and savory, the chicken is juicy and tender, and the finish is a subtle, aromatic lift that makes every bite feel special. I’ve spent countless evenings experimenting with ratios, textures, and techniques to arrive at a recipe that feels both authentic and approachable. The result is a dish that is simple to make, yet delivers a depth of flavor that will impress even the most discerning palate. Below, I’ll break down the key elements that make this recipe a standout, and then we’ll dive into the details that will transform your cooking routine.
What Makes This Version Stand Out
- Taste: The sauce is a harmonious blend of caramelized sugar, soy sauce, and a hint of hoisin that creates a sweet‑savory profile that lingers on the tongue. It’s not overpowering, but it’s bold enough to stand out against any side dish.
- Texture: The chicken is seared to a golden crisp on the outside while remaining moist inside, thanks to a quick sear and a gentle simmer that locks in juices. The sauce has a silky coat that clings to each piece without becoming gummy.
- Simplicity: With only a handful of pantry staples and a single skillet, you can achieve a restaurant‑quality dish in under 45 minutes. No fancy equipment or obscure ingredients required.
- Uniqueness: The inclusion of sesame oil and scallions gives the dish a subtle nutty aroma that differentiates it from generic chicken stir‑fries. The finish is a touch of sesame seeds that adds a pleasant crunch.
- Crowd Reaction: Friends who have tried this version rave about the sauce’s depth and the chicken’s tenderness. They often ask for the recipe after just one bite.
- Ingredient Quality: Fresh ginger and garlic, high‑quality soy sauce, and a good brown sugar are the backbone of this dish. Using the right quality elevates the entire flavor profile.
- Cooking Method: The technique of searing, deglazing, and thickening the sauce in one pan maximizes flavor and minimizes cleanup.
- Make‑ahead Potential: The dish can be prepared ahead of time and reheated without losing its texture or flavor, making it perfect for busy weeknights.
Alright, let's break down exactly what goes into this masterpiece…
Inside the Ingredient List
The Flavor Base
The flavor base is the soul of Mongolian Chicken, a combination of soy sauce, brown sugar, hoisin sauce, and a splash of chicken broth. Soy sauce provides the umami depth that anchors the dish, while brown sugar brings a caramelized sweetness that balances the saltiness. Hoisin sauce adds a subtle fruitiness and thickness, turning the sauce into a glossy, clingy glaze. A dash of chicken broth keeps the sauce from becoming too syrupy, ensuring it coats the chicken without weighing it down.
If you skip the broth, the sauce will thicken too quickly, leading to a sticky, clumpy texture. The broth also adds a subtle savory note that enhances the overall depth. When choosing soy sauce, opt for a low‑sodium version to keep control over the salt level. Hoisin sauce can be substituted with a mixture of honey and a touch of soy, but the original sauce delivers a more authentic flavor profile. The balance of these ingredients is what sets this recipe apart from generic stir‑fries.
To get the best flavor base, let the sauce simmer for 2–3 minutes after adding the broth, allowing the sugars to caramelize slightly. This step is crucial for developing the sauce’s signature glossy sheen. If you’re in a hurry, you can pre‑mix the soy sauce, sugar, and hoisin in a bowl and add it to the pan at once. However, the simmer step adds a depth that you’ll notice in the finished dish.
The Texture Crew
The texture crew consists of the chicken, cornstarch slurry, and sesame oil. Chicken thighs are preferred for their fat content, which keeps the meat juicy during the high‑heat sear. If you’re using chicken breasts, slice them thinly to prevent drying out. The cornstarch slurry is essential for thickening the sauce into a glossy coating that clings to each bite.
Cornstarch is mixed with cold water to avoid lumps; the ratio is typically 1 tablespoon cornstarch to 1 tablespoon water. Stir the mixture until completely smooth before adding it to the sauce. The sesame oil, added at the end, provides a nutty aroma that elevates the dish’s aroma profile. A small amount of sesame oil is enough; too much can overpower the other flavors.
If you’re watching calories, you can reduce the sesame oil to a teaspoon or substitute with a neutral oil and add a dash of toasted sesame seeds for flavor. The key is to keep the sauce thick but not heavy. A well‑balanced sauce will coat the chicken without making it soggy. The texture crew works together to create a dish that feels satisfying both visually and on the palate.
The Unexpected Star
Fresh garlic and ginger are the unexpected stars that bring brightness to the dish. Garlic offers a sharp, pungent kick that cuts through the sweetness, while ginger adds a subtle heat and a citrusy lift. Together, they form a dynamic base that enhances every other ingredient. The freshness of these aromatics is crucial; pre‑ground or frozen alternatives can result in a flat flavor profile.
If you’re allergic or simply don’t have garlic on hand, you can substitute with a teaspoon of garlic powder, but the depth of flavor will differ. Ginger can be replaced with a pinch of ground ginger if fresh isn’t available, though fresh is recommended for its bright notes. Both ingredients are essential for creating the aromatic foundation that makes Mongolian Chicken unforgettable.
When mincing garlic and ginger, aim for small, even pieces to ensure even cooking and maximum flavor release. The aromatics should be sautéed just until fragrant, about 30 seconds, to avoid bitterness. This step is quick but critical; it sets the tone for the entire dish.
The Final Flourish
The final flourish is the finishing touch of scallions and sesame seeds. Scallions add a fresh, peppery brightness that contrasts the rich sauce. They also provide a pop of color that makes the dish look as good as it tastes. Sesame seeds add a nutty crunch and a subtle aroma that lingers on the palate.
If you prefer a milder taste, you can reduce the amount of scallions or use only the white parts. Sesame seeds can be toasted lightly in a dry skillet to enhance their flavor before sprinkling on top. The combination of scallions and sesame seeds provides a finishing note that ties all the flavors together. They are optional but highly recommended for a complete experience.
Remember to add the scallions and sesame seeds just before serving, so they stay fresh and crunchy. A final drizzle of sesame oil can also be added for an extra layer of aroma. The final flourish is what turns a good dish into a memorable one, giving it that last burst of flavor that keeps people coming back for more.
Everything's prepped? Good. Let's get into the real action…
The Method — Step by Step
- Begin by patting the chicken thighs dry with paper towels; this step is essential for achieving a good sear. Season each piece lightly with salt and pepper, ensuring an even distribution of seasoning. The moisture on the surface will steam rather than sear if not removed, so drying is key. I like to let the seasoned chicken sit for five minutes while I prep the other ingredients. This short rest allows the flavors to penetrate the meat. When you’re ready, the chicken will sizzle immediately.
- In a small bowl, whisk together the cornstarch and water until the mixture is completely smooth. A lump‑free slurry ensures a glossy sauce that clings to the chicken. Keep the slurry aside; you’ll add it later to thicken the sauce. The cold water is important because it prevents the cornstarch from cooking too quickly. This step is simple but crucial for the sauce’s texture. Remember, a smooth slurry means a silky sauce.
- Heat a large wok or skillet over high heat and add the tablespoon of vegetable oil. When the oil shimmers, add the chicken pieces in a single layer, ensuring they have room to sear. Do not overcrowd the pan; if necessary, cook in batches. The chicken should sizzle loudly, indicating the pan is hot enough. Let the pieces cook undisturbed for 2–3 minutes on one side before flipping. This creates a golden crust that locks in juices.
- Once the chicken has developed a golden crust, remove it from the pan and set it aside on a plate. In the same pan, add the minced garlic and grated ginger. Sauté for 30 seconds until fragrant, but be careful not to burn them; burnt garlic can ruin the flavor. The aroma should be sharp and inviting. This quick sauté infuses the oil with aromatics, which will carry through to the sauce. Keep the heat moderate to prevent scorching.
- Add the soy sauce, brown sugar, hoisin sauce, and chicken broth to the pan. Stir well to dissolve the sugar and create a homogeneous mixture. Bring the mixture to a gentle simmer, allowing the flavors to meld. The sauce should start to thicken slightly after a minute of simmering. This step is where the sauce begins to develop its glossy sheen. Keep the heat low to avoid burning the sugar.
- Slowly pour in the cornstarch slurry while whisking constantly to prevent lumps. The sauce will thicken almost immediately, turning into a glossy glaze that coats the chicken. Continue to simmer for 2–3 minutes, stirring occasionally, until the sauce reaches the desired consistency. If it’s too thick, add a splash of water to thin it out. The sauce should cling to the chicken without dripping off. This is the moment of truth.
- Return the seared chicken to the pan, tossing it to coat evenly with the thickened sauce. Let the chicken simmer in the sauce for 2 minutes, allowing the flavors to marry and the chicken to finish cooking. The internal temperature should reach 165°F (74°C). The sauce will cling to each piece, creating a luscious coating. This step brings the dish together in a single pan, saving cleanup time.
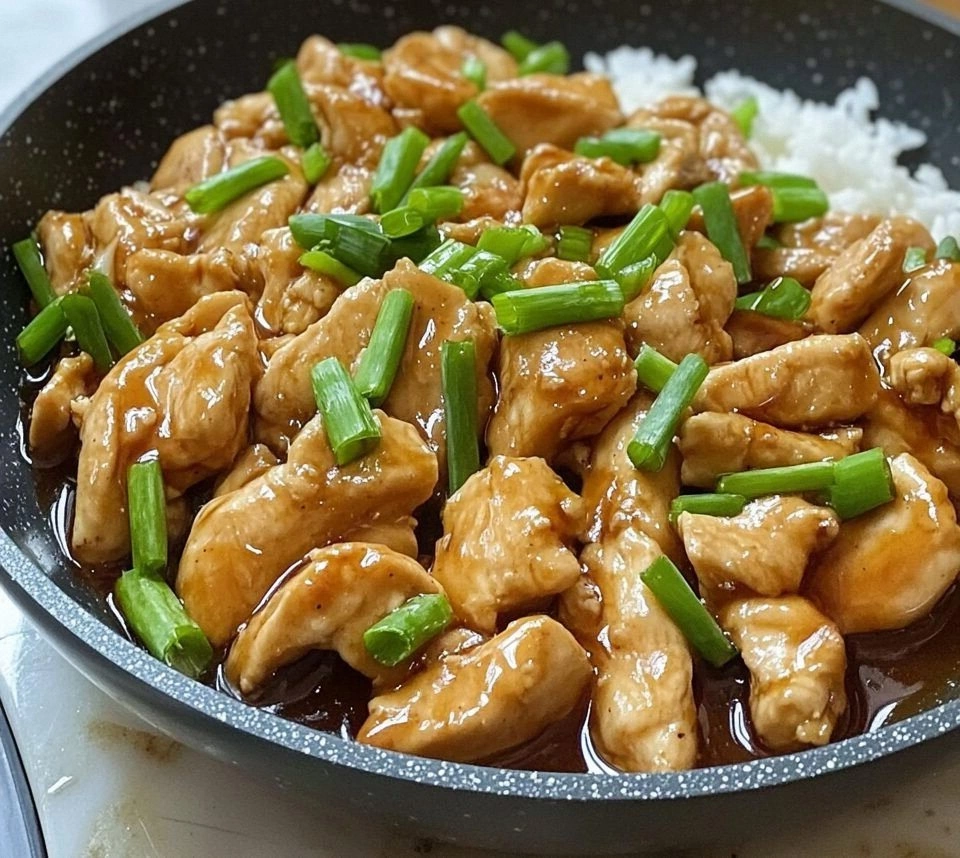
- Finish the dish by drizzling the teaspoon of sesame oil over the chicken, then sprinkle sliced scallions and sesame seeds on top. The sesame oil adds a nutty aroma that lingers long after the first bite. The scallions provide a fresh, peppery contrast to the rich sauce, while the sesame seeds add a satisfying crunch. This final flourish transforms the dish from simple to spectacular. Plate the chicken over steamed rice or noodles for a complete meal. Serve immediately while the sauce is still glossy and fragrant.
That's it — you did it. But hold on, I've got a few more tricks that'll take this to another level...
Insider Tricks for Flawless Results
The Temperature Rule Nobody Follows
Many cooks think high heat is the only way to get a good sear, but the truth is that a steady medium‑high heat yields a more even crust. When the pan is too hot, the outside can burn while the inside remains undercooked. I use a cast iron skillet that retains heat well, allowing me to maintain a consistent temperature. This trick ensures that every bite is juicy and caramelized. If you’re using a non‑stick pan, keep the heat slightly lower to avoid scorching.
Why Your Nose Knows Best
Your nose is the best judge of when the sauce is ready. As the sugar caramelizes, it releases a sweet, nutty aroma that signals the sauce is thickening. If you can’t smell it, the sauce might still be too thin. I always trust my olfactory sense to decide when to add the slurry. This simple cue saves you from over‑cooking the sauce and ruining the texture.
The 5‑Minute Rest That Changes Everything
After removing the chicken from the pan, let it rest on a wire rack for five minutes before serving. This brief rest allows the juices to redistribute, preventing the meat from drying out. It also gives the sauce a chance to thicken slightly, creating a more cohesive coating. Many people skip this step and end up with a dry dish. I swear by the rest; it’s the difference between a good meal and a great one.
Use the Right Flour for the Slurry
Cornstarch is the go‑to thickening agent for this dish, but if you’re allergic or simply want a different texture, try arrowroot powder. Arrowroot creates a clearer glaze that doesn’t cloud the sauce. It’s also gluten‑free, making it a great alternative. However, it requires a slightly higher ratio, so adjust accordingly. The key is to whisk until completely smooth before adding.
Keep It Low and Slow at the Finish
When you’re adding the sesame oil and finishing touches, keep the heat low. A high flame can burn the delicate sesame oil, resulting in a bitter aftertaste. A gentle heat allows the oil to release its aroma without scorching. This small step often gets overlooked, but it’s what gives the dish that final, aromatic lift. The result is a sauce that smells like toasted sesame and tastes like a culinary revelation.
Creative Twists and Variations
This recipe is a playground. Here are some of my favorite ways to switch things up:
Spicy Sriracha Kick
Add a tablespoon of sriracha to the sauce for a fiery twist that balances the sweetness. The heat will cut through the rich glaze and add a layer of complexity. Serve over rice with a side of pickled vegetables to cool the palate. This version is perfect for spice lovers who want a bit of heat. The sriracha also deepens the color of the sauce, making it more visually appealing. Give it a try and feel the burn in the best way possible.
Tofu Takeover
Replace the chicken with firm tofu for a vegetarian version that still delivers on flavor. Press the tofu to remove excess moisture before searing. The tofu will absorb the sauce, creating a deliciously coated bite. Use the same sauce proportions to keep the flavor profile intact. This dish works wonderfully over quinoa or soba noodles. It’s a great option for plant‑based diners who crave a hearty meal.
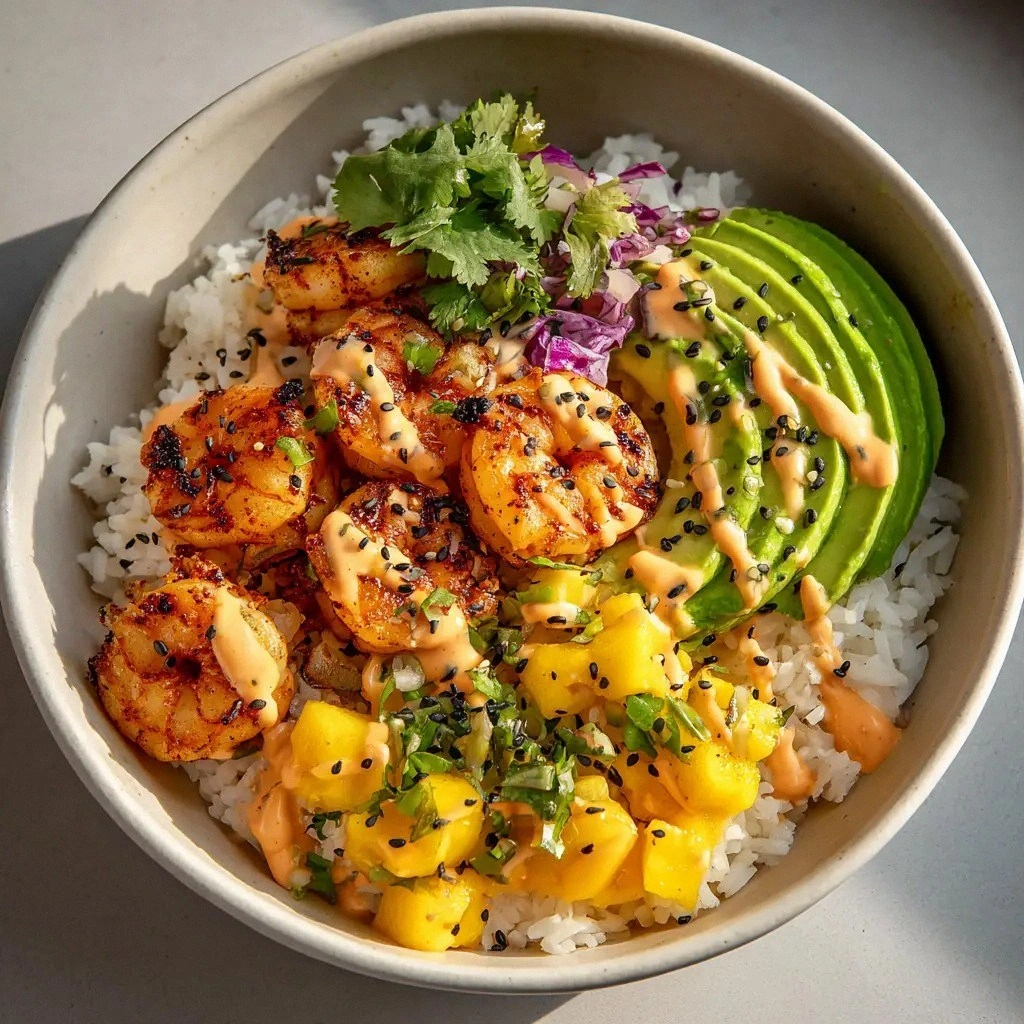
Shrimp Surprise
Swap chicken for shrimp for a quick seafood variation. Shrimp cooks in just 2–3 minutes, so add them after the aromatics and before the sauce. The shrimp will turn pink and slightly firm, absorbing the sweet‑savory glaze. Serve over jasmine rice and garnish with fresh cilantro. This version is ideal for a light yet satisfying dinner. The shrimp’s natural sweetness complements the sauce beautifully.
Pineapple Sweetness
Add a cup of fresh pineapple chunks for a tropical twist that adds natural sweetness and a hint of acidity. Pineapple pairs well with the savory sauce, creating a balance that’s both sweet and tangy. Stir the pineapple in during the last minute of simmering so it retains some bite. This version works great with a side of coconut rice. The tropical flavor profile feels like a vacation in a bowl. It’s a fun way to surprise your guests.
Coconut Milk Cream
Use coconut milk instead of chicken broth for a creamier, richer sauce. The coconut milk adds a subtle sweetness that complements the brown sugar. Reduce the coconut milk by half to avoid a soupy texture. The sauce becomes silky, almost like a sweet gravy. Serve over steamed rice or cauliflower rice for a low‑carb option. This variation is a decadent treat that’s surprisingly simple.
Asian Fusion Wraps
Wrap the cooked chicken in lettuce leaves or rice paper for a low‑carb, portable meal. The sauce will cling to the leaves, creating a burst of flavor with each bite. Add shredded carrots, cucumber, and fresh mint for crunch and freshness. Drizzle a squeeze of lime over the top for a citrusy finish. This version is perfect for a picnic or a quick lunch on the go. The wrap format adds a fun, interactive element to the dish.
Storing and Bringing It Back to Life
Fridge Storage
Store any leftovers in an airtight container in the refrigerator for up to 3 days. The sauce will thicken slightly as it cools, but it remains flavorful. When reheating, add a splash of water or broth to loosen the sauce back to its original consistency. This keeps the chicken juicy and the glaze glossy. The dish can be reheated in the microwave or on the stovetop, just be sure to stir frequently.
Freezer Friendly
Mongolian Chicken can be frozen for up to 3 months. Pack the cooked chicken and sauce in a freezer‑safe bag or container, leaving a little headspace for expansion. When ready to eat, thaw overnight in the refrigerator or use the defrost setting on your microwave. Reheat slowly on the stove, adding a splash of water to loosen the sauce. The texture stays good, and the flavor is just as vibrant. This makes meal prep a breeze for busy weeks.
Best Reheating Method
The best way to bring the dish back to life is to gently reheat it in a skillet over medium heat. Add a tablespoon of water or broth and cover the pan to create steam. Stir frequently until the sauce is heated through and the chicken is hot. The added liquid prevents the sauce from drying out. Serve immediately, and enjoy a dish that tastes almost as fresh as when it was first cooked. A quick, low‑heat reheating preserves the sauce’s glossy finish.