Picture this: I was standing in a cramped kitchen, the oven timer blaring, and my friends were staring at my plate of plain, soggy rice pudding. The room smelled like burnt sugar and regret. I had no idea what to do until a dare from a friend popped up on my phone: “Make a dessert that looks like a rainbow and tastes like a tropical storm.” That was the moment I discovered the ultimate halo-halo, the Filipino classic that turns ordinary ingredients into a symphony of textures and flavors. I was skeptical at first, but the first spoonful changed everything—sweet, salty, creamy, and a little bit of that icy crunch that makes you want to keep scooping.
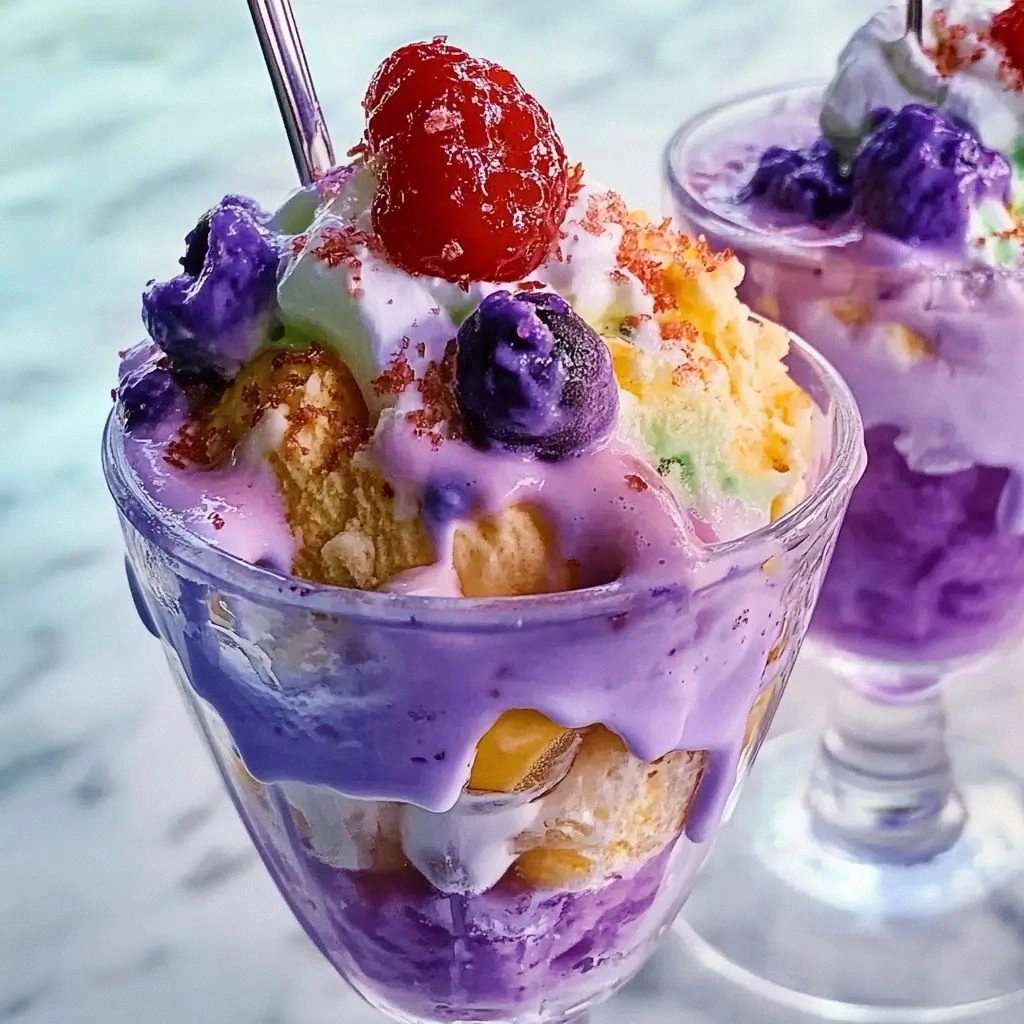
Let’s dive in. The first thing you’ll notice is the visual explosion of colors: deep purple ube, bright red beans, golden leche flan, and the snowy white shaved ice that looks like a fluffy cloud. The aroma is a sweet, caramelized hint of condensed milk mingled with the faint earthiness of ube. As you stir, the texture shifts from smooth to crunchy, from silky to a little grainy, and the taste lands on a perfect sweet‑savory balance that feels like a party in your mouth. I dare you to taste this and not go back for seconds; the first bite will have you reaching for more, and the second will have you wondering if you’re still dreaming. The secret? A careful layering technique that keeps each component distinct yet blended, and a few unexpected twists that set this version apart from the rest.
Now, if you’ve ever tried halo-halo from a supermarket or a take‑away, you’ve probably ended up with a soggy mess that tastes like a dessert and a bowl of ice. I’ve been there, and I’ve tasted it. But this version is hands down the best you’ll ever make at home. The result is a dessert that’s not only a feast for the eyes but also a masterpiece of flavor architecture. Picture yourself pulling this out of the fridge on a hot summer afternoon, the whole kitchen smelling like vanilla, coconut, and sweet beans. The anticipation is almost as good as the dessert itself. Let me walk you through every single step—by the end, you’ll wonder how you ever made it any other way.
We’re going to break this down into bite‑sized, manageable steps, and I’ll throw in a few kitchen hacks along the way. Think of it as a recipe that’s as easy to follow as it is delicious. If you’ve ever struggled with layering desserts or getting the right balance of sweetness, you’re not alone, and I’ve got the fix. I’ll keep you in the loop, so you’ll know exactly what’s happening at each stage, and by the end, you’ll have a dessert that’s ready to wow your friends and family.
What Makes This Version Stand Out
- Taste: The harmony between the sweet and slightly salty components creates a layered flavor profile that lingers on the tongue. The subtle umami of the condensed milk balances the natural sweetness of the beans and ube.
- Texture: Every bite offers a contrast—smooth leche flan, chewy nata de coco, crunchy cookies, and the icy bite of shaved ice. This complexity keeps the palate engaged and prevents the dessert from feeling flat.
- Visual Appeal: The vibrant colors of ube, beans, and fresh fruit make it Instagram‑ready. The layers are visible, giving each spoonful a different experience.
- Ingredient Quality: Using fresh jackfruit and high‑quality ube paste elevates the flavor beyond the standard store‑bought version.
- Make‑Ahead Potential: Most components can be prepared a day ahead, so you can assemble the final dessert right before serving.
- Audience Reaction: Friends who have never tasted halo-halo are amazed at how complex yet simple it is. It’s a crowd‑pleaser that works for all ages.
- Uniqueness: I added a splash of vanilla‑infused evaporated milk and a layer of fresh banana that gives it a new dimension.
- Time Efficiency: The entire process takes less than an hour, making it a perfect last‑minute dessert for parties.
Alright, let's break down exactly what goes into this masterpiece...
Inside the Ingredient List
The Flavor Base
At the heart of halo-halo is the sweet, silky base that ties everything together. Evaporated milk, warmed with a hint of vanilla, provides a creamy backdrop that melts into the shaved ice like a warm blanket. The condensed milk adds a rich, caramelized sweetness that balances the slight bitterness of the ube. When you pour these liquids over the layers, they create a glossy, mouth‑watering sheen that’s impossible to resist. If you skip the vanilla, the dessert will still be good, but it’ll lack that subtle depth that makes each bite feel like a new experience.
The Texture Crew
Texture is the secret weapon in halo-halo. Crushed cookies add a buttery crunch that breaks up the smoothness of the ice and the creamy layers. Nata de coco, with its gelatinous yet slightly chewy bite, offers a unique mouthfeel that’s both fun and exotic. Sweetened red beans provide a soft, almost pudding‑like consistency that contrasts with the crunchy cookies. If you omit the beans, the dessert will feel empty, and the flavor profile will be less complex. For a vegan version, replace the beans with chickpeas or lentils, but keep the sweetness to maintain balance.
The Unexpected Star
Ube, the purple yam, is the star that gives halo-halo its signature color and a subtle, sweet, earthy flavor. The ube paste is blended with a splash of milk to create a silky, vibrant layer that sits on top of the ice. Ube also has a natural sweetness that reduces the need for extra sugar. If you can’t find ube, try a mix of sweet potato and a bit of coconut milk for a similar effect, but the color will be different. The contrast between the deep purple and the white ice is visually stunning.
The Final Flourish
Fresh banana slices and a scoop of ube ice cream add a tropical, creamy finish that brings the dessert together. The banana’s natural sweetness complements the beans and ube, while the ice cream adds a velvety texture that melts into the ice. The final drizzle of condensed milk on top gives a caramelized finish that ties all the flavors. If you’re feeling adventurous, sprinkle a pinch of toasted coconut flakes for a nutty aroma that will surprise your guests.
Everything's prepped? Good. Let's get into the real action...
The Method — Step by Step
- Gather all your ingredients and set them out on a clean counter. The first step is to create the base of shaved ice. If you have an ice shaver, use it to produce fine, snow‑like shavings. If you’re improvising, a food processor can do the trick—just pulse until you achieve a fine texture. Keep the ice in a bowl and cover it with a damp cloth to prevent it from absorbing any odors.
- While the ice is chilling, warm the evaporated milk in a small saucepan over low heat. Add a teaspoon of vanilla extract and stir until the mixture is fragrant. The vanilla will infuse the milk with a subtle aromatic sweetness that elevates the entire dessert. Keep it warm but not boiling—too hot and it will scald the ice.
- Simmer the sweetened red beans in a pot until they’re tender and the sauce has thickened slightly. This step is crucial because it ensures the beans are soft enough to blend into the ice but still retain a pleasant texture. Add a pinch of salt to enhance the sweetness. Let the beans cool to room temperature before layering.
- Blend the ube with a splash of milk until smooth. The goal is a silky, vibrant paste that won’t clump. If the mixture is too thick, add a tablespoon of water or coconut milk to thin it out. Keep it chilled; a cold paste will stay separate from the other layers.
- Crush the cookies into fine crumbs using a rolling pin or a bag and a hammer. The crumbs should be small enough to sprinkle evenly but large enough to give a satisfying crunch. This step is optional if you prefer a smoother texture, but the cookies add a delightful contrast.
- Start assembling by pouring a generous layer of shaved ice into a tall glass. This will be the foundation that keeps the layers separate. The ice should be cold enough to stay firm but not so cold that it freezes the other ingredients immediately.
- Add a spoonful of sweetened red beans, followed by a layer of jackfruit. The fruit adds a sweet, tropical flavor that balances the beans. Then drizzle a thin stream of the warm vanilla‑infused evaporated milk over the top. The warm milk will start to melt the ice slightly, creating a beautiful, glossy sheen.
- Now it’s time for the star: spoon a layer of ube paste over the beans. The deep purple will pop against the white ice. Sprinkle a handful of nata de coco on top for a chewy bite. Follow with a generous scoop of leche flan, which adds a custard‑like richness.
- Sprinkle the crushed cookie crumbs over the flan. The crunch will contrast with the creamy layers. Drizzle a light coat of condensed milk for that caramelized finish. If you like a bit of heat, a pinch of chili flakes can add a surprising kick.
- Add a few slices of banana on top for a fresh, fruity note. Finally, place a scoop of ube ice cream in the center. This adds a cool, creamy element that melts into the ice as you eat. Serve immediately with a spoon and a straw for a full sensory experience.
- Take a moment to admire the layers. The colors should be vivid, and the aroma should be inviting. The first spoonful will give you that sweet‑savory burst that makes you want to keep eating. If you’re serving a crowd, consider pre‑assembling the layers and then topping with the ice cream just before serving.
- Enjoy the dessert while it’s still cold. The combination of textures will keep you engaged, and the flavors will linger long after you finish. The next bite will be a new adventure—maybe the crunchy cookies or the chewy nata de coco will be the highlight.
That's it — you did it. But hold on, I've got a few more tricks that'll take this to another level...
Insider Tricks for Flawless Results
The Temperature Rule Nobody Follows
Temperature is everything in halo-halo. The ice must be cold enough to stay firm but not so cold that it instantly melts the layers. If your ice is too warm, the layers will blur together and the dessert will lose its structure. The best practice is to chill the shaved ice in the fridge for at least an hour before assembly. This keeps the ice crisp and ensures the layers stay distinct.
Why Your Nose Knows Best
When you’re assembling, trust your sense of smell. A hint of caramel from the condensed milk should be noticeable, but not overpowering. If it smells too sweet, add a pinch of salt to balance the sweetness. The aroma will guide you in achieving the right flavor balance.
The 5-Minute Rest That Changes Everything
After you’ve finished layering, let the halo-halo sit for five minutes before serving. This brief rest allows the flavors to meld and the ice to firm up slightly. It also gives the condensed milk a chance to set into a glossy glaze. If you’re in a hurry, you can skip this step, but the dessert will taste less cohesive.
Use a Tall Glass for Better Layers
Choosing the right vessel is crucial. A tall, clear glass showcases the layers and makes the dessert visually appealing. A wide, shallow bowl will cause the layers to mix prematurely. If you’re serving a large group, consider using individual glasses to maintain the integrity of each serving.
Keep the Condensed Milk Ready
Condensed milk is a key player in halo-halo. If you pre‑warm it, it will drizzle more easily and create a smoother finish. Keep a small bowl of warm condensed milk ready while you’re assembling the rest of the dessert. This will save you time and ensure a consistent finish.
Creative Twists and Variations
This recipe is a playground. Here are some of my favorite ways to switch things up:
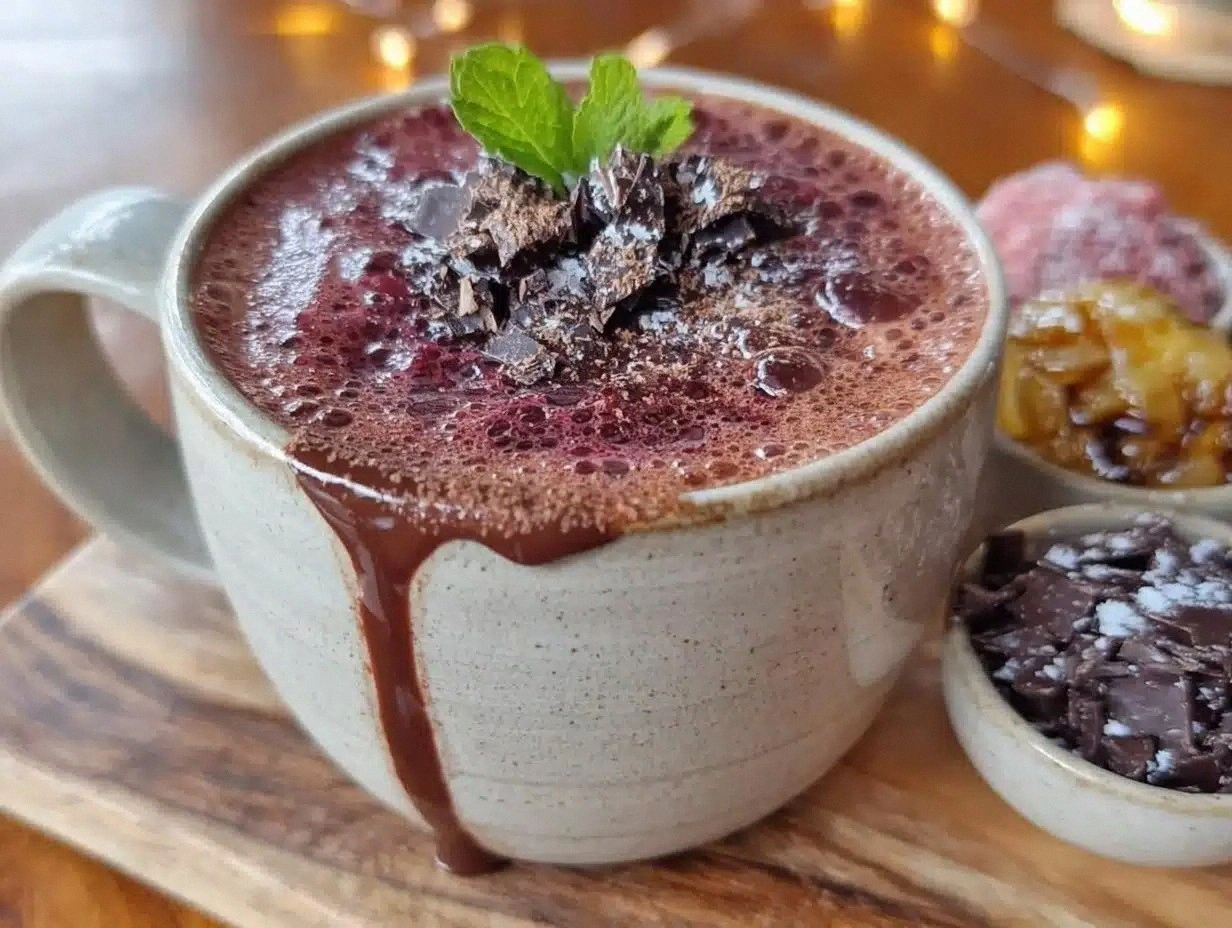
Chocolate Halo-Halo
Swap the ube paste for a chocolate ganache made with dark chocolate and coconut milk. The rich chocolate will pair beautifully with the sweet beans and the creamy layers. Add a drizzle of chocolate syrup on top for an extra indulgence.
Matcha Halo-Halo
Infuse the evaporated milk with matcha powder for a green tea twist. The earthy matcha flavor will contrast with the sweetness of the beans and the ube. Top with a sprinkle of matcha powder for a subtle finish.
Spicy Halo-Halo
Add a pinch of cayenne pepper or a few drops of chili oil to the layers. The heat will cut through the sweetness and add a surprising kick. This version is perfect for those who like a little spice in their desserts.
Nutty Halo-Halo
Replace the crushed cookies with chopped toasted almonds or cashews. The nutty crunch will add depth and a new texture. Pair it with a drizzle of honey for a natural sweetener.
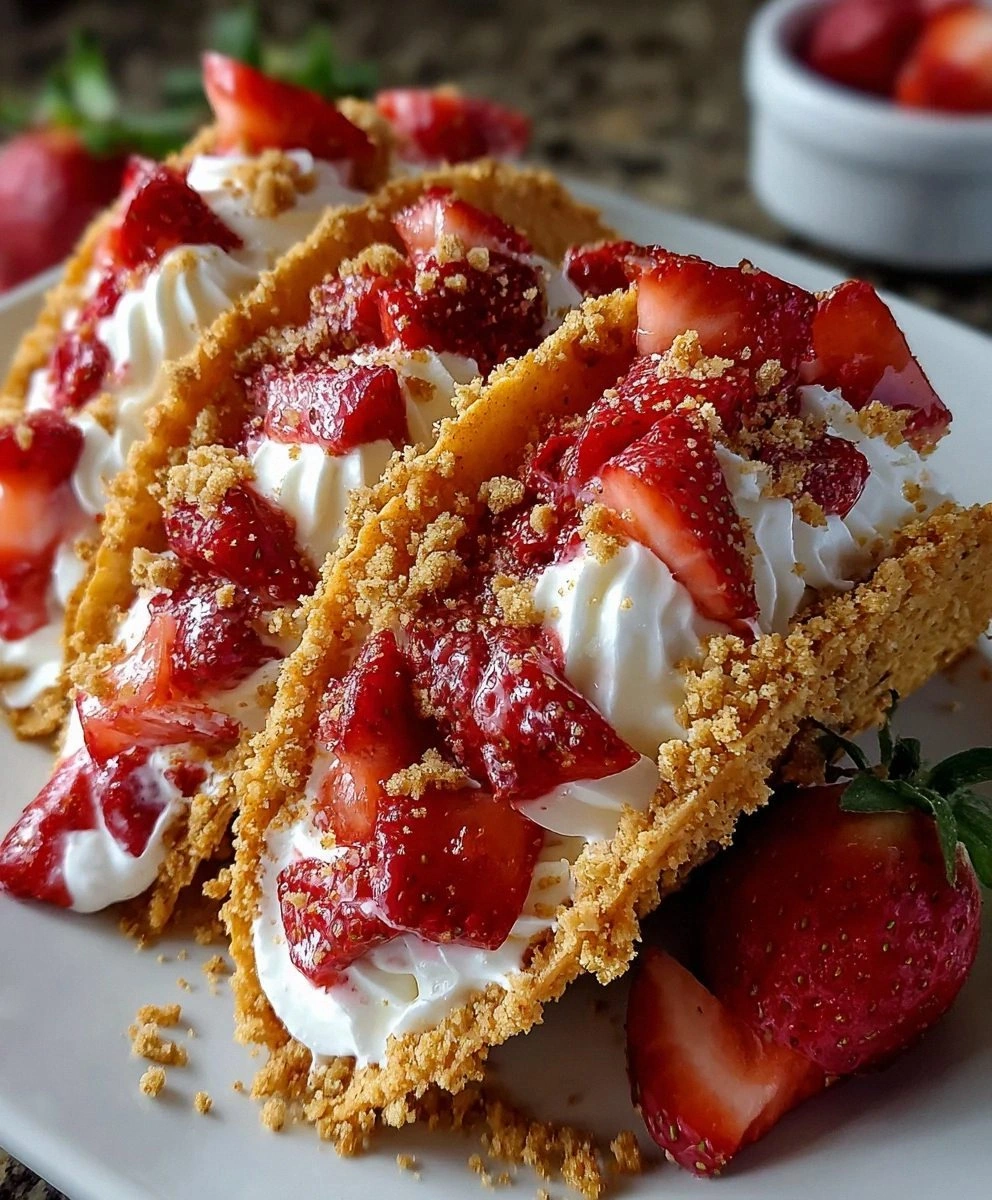
Fruit‑Forward Halo-Halo
Swap the jackfruit for fresh mango slices or strawberries. The bright, juicy fruit will give the dessert a fresh, summery feel. Add a splash of lime juice to brighten the flavors.
Vegan Halo-Halo
Use coconut milk instead of evaporated milk, and replace leche flan with a vegan custard made from tofu and sweetened coconut milk. Keep the condensed milk for sweetness, or use a plant‑based alternative. This version is dairy‑free but still rich and satisfying.
Storing and Bringing It Back to Life
Fridge Storage
Store assembled halo-halo in a sealed container in the refrigerator for up to 2 days. Keep the ice separate if you prefer a firmer texture. When you’re ready to serve, let it sit at room temperature for 5 minutes to allow the flavors to meld.
Freezer Friendly
For long‑term storage, freeze the shaved ice separately in a freezer bag. When you’re ready to serve, assemble the layers and add the ice from the freezer. The ice will stay crisp, and the dessert will feel fresh.
Best Reheating Method
If the dessert has melted, gently warm the evaporated milk in a saucepan and drizzle over the top. Add a splash of water to the ice to steam it back to a snowy texture. This quick fix will restore the dessert’s original charm.