It was a Tuesday night, the kind of night that feels like a culinary cliffhanger. I was rummaging through a forgotten pantry, hunting for that one ingredient that could turn a bland dessert into a headline act. I found a jar of pistachio cream, a stray sheet of filo, and a bag of chocolate chips that had been hiding in the back of the freezer. That moment, the air thick with the scent of roasted nuts and cocoa, sparked a dare that I could not resist: I would create a chocolate bar that would make the internet go viral.
Picture the kitchen: the oven preheated to a blistering 180°C, the countertop littered with flour dust, and the timer ticking like a metronome. The chocolate chips melt into a glossy river, the pistachio cream swirls like a green tide, and the filo flutters in the air like confetti. The sound of butter sizzling against the pan is the soundtrack to my culinary rebellion. I can almost hear the crunch of the filo when it hits the hot surface, a crisp whisper that promises a texture contrast that will make your taste buds dance.
Most people think a chocolate bar is a simple, one-dimensional treat, but I’m here to prove that this recipe is anything but ordinary. It’s a layered masterpiece that marries the silky smoothness of melted chocolate with the earthy crunch of filo, all bound together by a luscious pistachio cream that sings like a secret garden. The result is a bite that feels like a velvet kiss on the tongue, followed by a satisfying snap that echoes in the memory of every eater. If you’ve ever had a chocolate bar that tasted like a flat lump, this is the antidote you’ve been craving.
I dare you to taste this and not go back for seconds. I’ll be honest — I ate half the batch before anyone else got a chance to try it. The next bite was a revelation that made me question every other chocolate bar I’d ever eaten. This isn’t just a dessert; it’s an experience that will have you reaching for more. Picture yourself pulling this out of the oven, the whole kitchen smelling incredible, and the aroma filling the room like a warm hug.
Let me walk you through every single step — by the end, you’ll wonder how you ever made it any other way. From the precise timing of the butter melt to the delicate layering of filo and pistachio cream, each moment is crafted to create a symphony of flavors and textures. The secret? A subtle balance of sweetness, salt, and nutty richness that makes this bar unforgettable. Trust me, this is hands down the best version you’ll ever make at home.
If you've ever struggled with making chocolate bars that stay together or that lack that wow factor, you're not alone — and I've got the fix. The trick is in the layering, the timing, and a few small but mighty hacks that I’ve learned over the years. I’ve spent countless hours testing, tweaking, and tasting until I found the perfect formula. And now, I’m sharing every detail, so you can replicate the magic in your own kitchen.
This recipe is not just about chocolate and pistachio; it’s about the joy of creating something that feels both indulgent and sophisticated. The combination of crunchy filo and silky chocolate, with that hint of green pistachio, creates a dessert that feels like a holiday treat, yet can be made any day of the year. The result is a bar that feels like a piece of art you can eat, a treat that will be the talk of every gathering.
So grab your apron, preheat that oven, and get ready to dive into the world of Viral Dubai Chocolate Bar Pist. I promise you, the journey will be as delicious as the destination. Let’s get started.
What Makes This Version Stand Out
- Texture: The combination of crisp filo and molten chocolate creates a dual sensation that is both crunchy and silky, a contrast that keeps every bite exciting.
- Flavor Depth: The pistachio cream introduces a subtle nutty undertone that balances the sweetness of the chocolate, preventing it from feeling cloying.
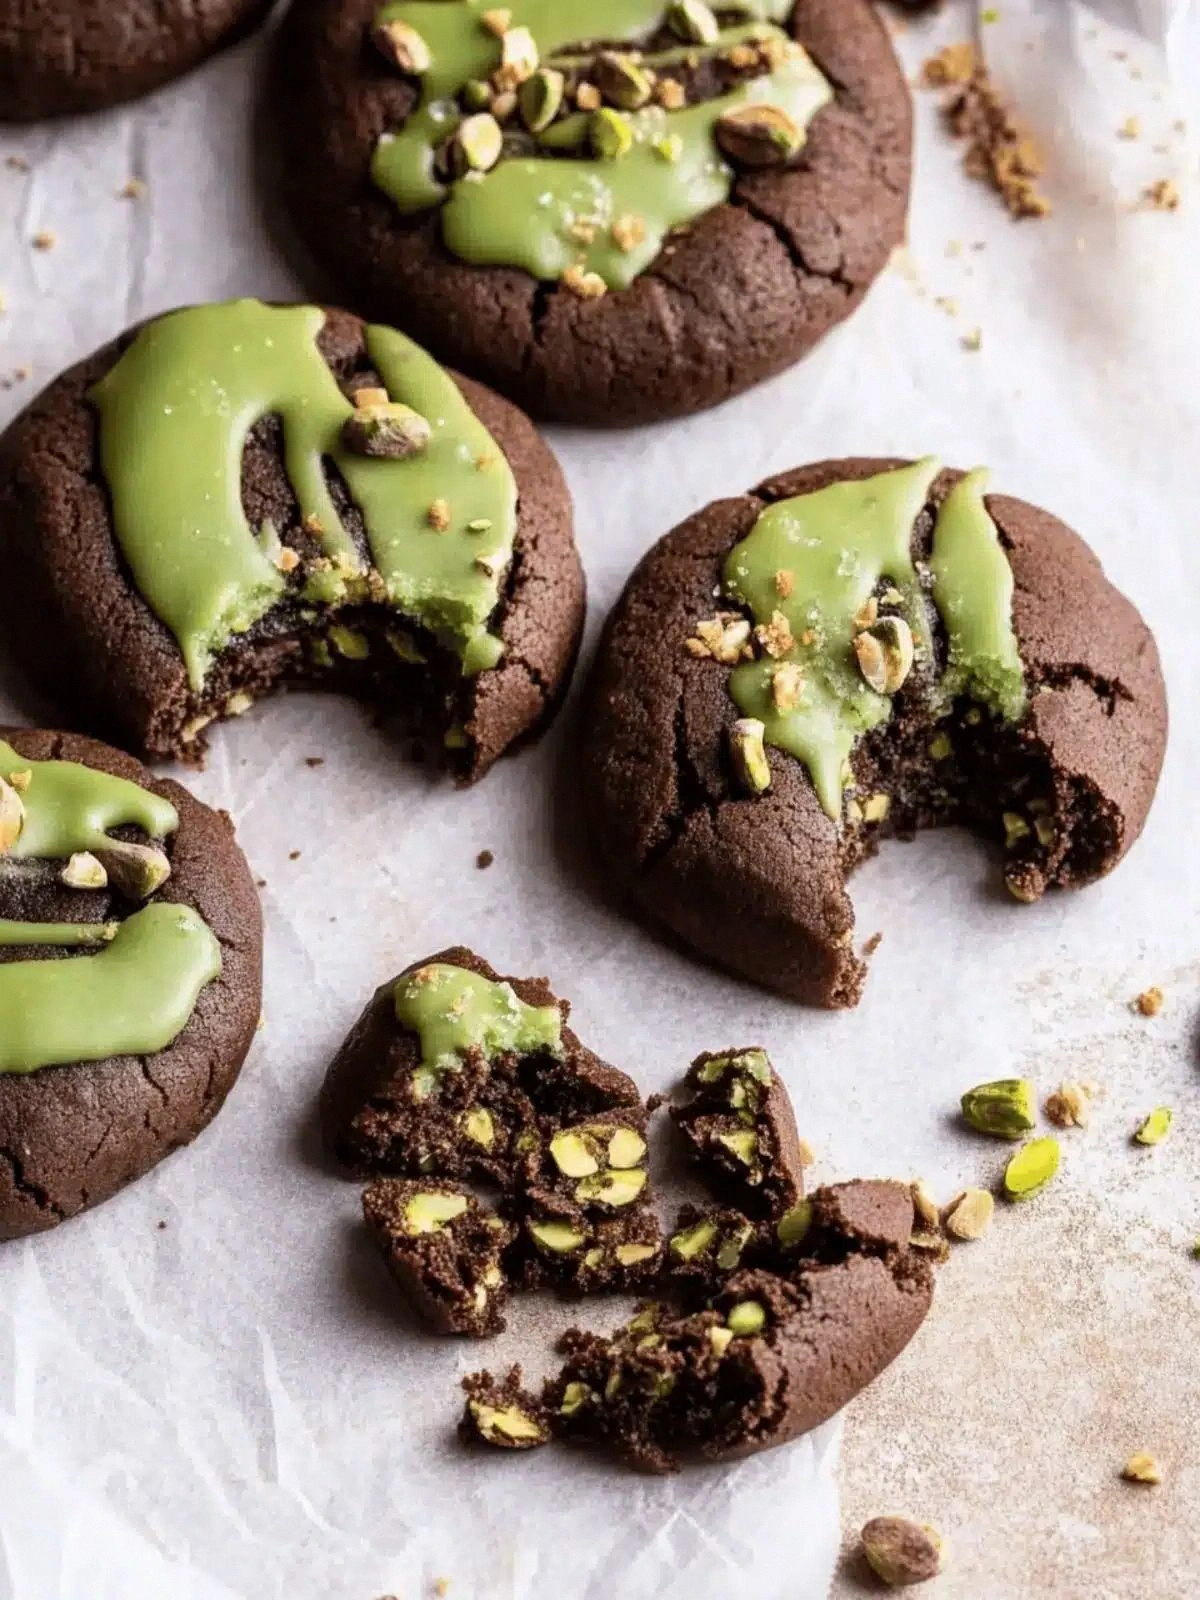
- Visual Appeal: The golden filo sheets and glossy chocolate glaze give the bar a stunning, almost ceremonial look that makes it Instagram‑worthy.
- Ingredient Quality: Using light brown sugar, white caster sugar, and high‑quality chocolate chips ensures that the flavors are pure and unadulterated.
- Make‑Ahead Friendly: The bar can be assembled ahead of time and refrigerated, allowing you to focus on the finishing touches right before serving.
- Versatility: The recipe scales up or down with ease, making it perfect for a small family dinner or a large gathering.
- Unique Technique: The layering of filo and pistachio cream before adding the chocolate creates a melt‑in‑your‑mouth experience that is rarely found in conventional chocolate bars.
Alright, let's break down exactly what goes into this masterpiece. And before we dive into the ingredients, here’s a quick kitchen hack to keep your dough from sticking.
Inside the Ingredient List
The Flavor Base
100 g Unsalted Butter is the backbone of the chocolate mixture, providing richness that coats the chocolate and enhances its silky texture. If you skip the butter, the bar loses its glossy finish and feels dry. For a dairy‑free alternative, try coconut oil, but keep in mind it will add a subtle coconut note.
100 g Light Brown Sugar adds a caramel depth that balances the sweetness of the chocolate chips. Its molasses content gives the bar a slightly chewy undertone. If you prefer a sweeter bar, replace with an equal amount of white caster sugar.
100 g White Caster Sugar is the sweetener that dissolves quickly, ensuring a smooth chocolate glaze without graininess. It also helps in the caramelization process when the bar bakes. A pinch of sea salt can enhance the overall flavor profile.
The Texture Crew
1 large Egg is used to bind the mixture, giving it structure and a tender crumb. If you’re vegan, replace the egg with a flaxseed egg (1 tablespoon ground flaxseed + 3 tablespoons water). The egg also helps in emulsifying the butter and sugars.
200 g Self‑Raising Flour and 50 g Plain Flour create a light, airy base that prevents the bar from becoming too dense. The self‑raising flour adds lift, while the plain flour ensures a smooth batter consistency. If you have a gluten‑free flour blend, use the same weight but adjust the baking time slightly.
30 g Cocoa Powder infuses the bar with deep chocolate flavor and a hint of bitterness that balances the sweetness. Use a high‑quality Dutch‑process cocoa for a richer taste. If you’re looking for a lighter chocolate, reduce the cocoa by 10 g.
The Unexpected Star
1 tsp Salt is the secret to unlocking the full flavor of the chocolate and nuts. It also helps to balance the sweetness. If you’re watching sodium, reduce to ½ tsp, but be prepared for a slightly less vibrant flavor.
150 g Milk Chocolate Chips are the star that melts into a glossy glaze. They provide a creamy texture and a subtle milk chocolate flavor. For a more intense chocolate bite, swap half for dark chocolate chips.
The Final Flourish
5 sheets Filo Pastry add that signature crispness and flaky texture that makes each bite a crunchy surprise. The filo must be kept at room temperature to avoid brittleness. If you can’t find filo, thinly sliced puff pastry works as a substitute, though the texture will differ.
100 g Pistachio Cream is the heart of this recipe, delivering a creamy, nutty richness that pairs perfectly with chocolate. It also acts as a binding agent between the layers. If you’re allergic to nuts, a cashew cream can be used, but the flavor will shift toward a buttery note.
Everything's prepped? Good. Let's get into the real action...
The Method — Step by Step
- Preheat your oven to 180°C (350°F). Line a 20x20 cm baking tray with parchment paper. In a medium saucepan, melt the butter over low heat until it turns a light amber color. This subtle toasting will deepen the flavor. Keep an eye on it; you don’t want it to burn.
- Add the light brown sugar and white caster sugar to the butter, stirring until the mixture is smooth and the sugars have dissolved. The mixture should have a slightly thick, syrupy consistency. This is where the caramel notes begin to develop. If it looks too thin, let it simmer for an extra minute.
- Whisk in the egg, beating until the batter is glossy and slightly airy. The egg will help bind the mixture and give it a tender crumb. Don’t overmix; you only need it to incorporate. This step is critical for the final texture.
- Sift in the self‑raising flour, plain flour, and cocoa powder. Fold gently with a spatula until the batter is smooth. The flour will absorb the wet ingredients, creating a cohesive mixture. If you notice lumps, use a whisk to smooth them out.
- Stir in the milk chocolate chips and salt. The chocolate chips will melt into the batter, creating a glossy glaze. The salt will enhance the chocolate’s flavor. Let the mixture sit for 5 minutes to allow the chocolate to soften fully.
- Lay the filo sheets on a clean surface, brushing each sheet lightly with melted butter. Arrange them in a single layer on the prepared baking tray. The butter coating prevents the filo from tearing and adds extra flavor. Ensure the sheets are evenly spaced.
- Spread a thin layer of pistachio cream over the filo, leaving a small border around the edges. This layer will act as a bridge between the crunchy filo and the chocolate glaze. Use a spatula to spread it evenly. The pistachio cream adds a subtle green hue to the bar.
- Pour the chocolate batter over the pistachio cream, letting it pool in the center. The batter should be thick enough to stay in place. This is the moment of truth; the chocolate will seep into the filo, creating a glossy, molten center. Watch it carefully; the batter may spread slightly.
- Watch Out: The chocolate batter can be sticky and may slide off the filo if not handled carefully. Keep a damp cloth nearby to wipe excess chocolate from your hands. This will prevent mess and ensure a clean finish.
- Bake in the preheated oven for 25–30 minutes, or until the top is set and the edges begin to pull away from the parchment. The aroma of chocolate and toasted filo will fill the kitchen. Remove the tray and let it cool on a wire rack for 15 minutes before cutting. This rest time allows the layers to set and the flavors to meld.
That's it — you did it. But hold on, I've got a few more tricks that'll take this to another level. These insider tips will ensure every bite is perfect and every crumb is flawless.
Insider Tricks for Flawless Results
The Temperature Rule Nobody Follows
Never bake at a temperature higher than 180°C (350°F). Even a slight increase can cause the chocolate to scorch, leading to a bitter aftertaste. Keep a reliable oven thermometer handy to avoid misreading your oven’s temperature. This simple step saves you from a ruined batch.
Why Your Nose Knows Best
Before you cut into the bar, pause and inhale deeply. The scent of toasted filo and chocolate is the first indicator of a perfect bake. If the aroma feels off, give it an extra 2–3 minutes. Trust your nose; it’s a seasoned judge of flavor.
The 5-Minute Rest That Changes Everything
After removing the bar from the oven, let it rest on a wire rack for exactly 5 minutes. This brief pause allows the chocolate to set and the pistachio cream to firm up, ensuring a clean slice. Skipping this step can result in a sticky mess.
Keep the Edges Crisp
If you like extra crunch, lightly brush the edges of the bar with melted butter before baking. The butter will crisp the filo, creating a delightful contrast with the creamy center. This extra step is worth the effort.
Avoid Overmixing the Batter
When incorporating the flour, fold gently rather than whisk vigorously. Overmixing can develop gluten, making the bar tough. Keep the batter smooth but airy, and you’ll get that tender crumb everyone loves.
Creative Twists and Variations
This recipe is a playground. Here are some of my favorite ways to switch things up:
Citrus Zest Surprise
Add a tablespoon of lemon zest to the batter for a bright, tangy counterpoint to the chocolate. The citrus lifts the flavor profile and adds a subtle complexity. This variation is perfect for spring and summer gatherings.
Spiced Chili Kick
Incorporate a pinch of cayenne pepper into the chocolate batter. The heat will mingle with the sweetness, creating a bold flavor that surprises the palate. Ideal for adventurous foodies who love a little spice.
Almond Cream Layer
Swap the pistachio cream for almond cream to give the bar a milder nutty taste. The almond cream also adds a slightly buttery texture. This version works well for those with pistachio allergies.
Caramel Swirl
Drizzle a caramel sauce over the top before baking. The caramel will melt into the chocolate, creating a sweet, buttery swirl that’s visually stunning. This twist is perfect for dessert parties.
Raspberry Rapture
Fold in a handful of fresh raspberries into the pistachio cream layer. The berries add a tart burst that cuts through the richness of chocolate. This variation is ideal for summer menus.
Sea Salt Finish
Finish the bar with a sprinkle of flaky sea salt just before serving. The salt crystals add a pop of crunch and enhance every flavor component. A simple, elegant touch.
Storing and Bringing It Back to Life
Fridge Storage
Store the bar in an airtight container at room temperature for up to 3 days. If you prefer a cooler environment, keep it in the refrigerator for 5–7 days. The chocolate will firm up, making slicing easier.
Freezer Friendly
Wrap the bar tightly in plastic wrap and then in foil before freezing. It can be kept in the freezer for up to 3 months. Thaw at room temperature for 30 minutes before serving.
Best Reheating Method
To revive a refrigerated or frozen bar, place it on a parchment‑lined tray and bake at 150°C (300°F) for 5–7 minutes. Add a tiny splash of water to the parchment to create steam, keeping the chocolate moist. Let it cool for a couple of minutes before slicing.